Versions Supported: N/A (SaaS)
VictorOps Version Required: Getting Started, Essentials, or Full-Stack
What you need to know: This integration uses Pingdoms webhooks feature to send alerts to VictorOps.
Pingdom is a service that tracks the uptime, downtime, and performance of websites.
In VictorOps
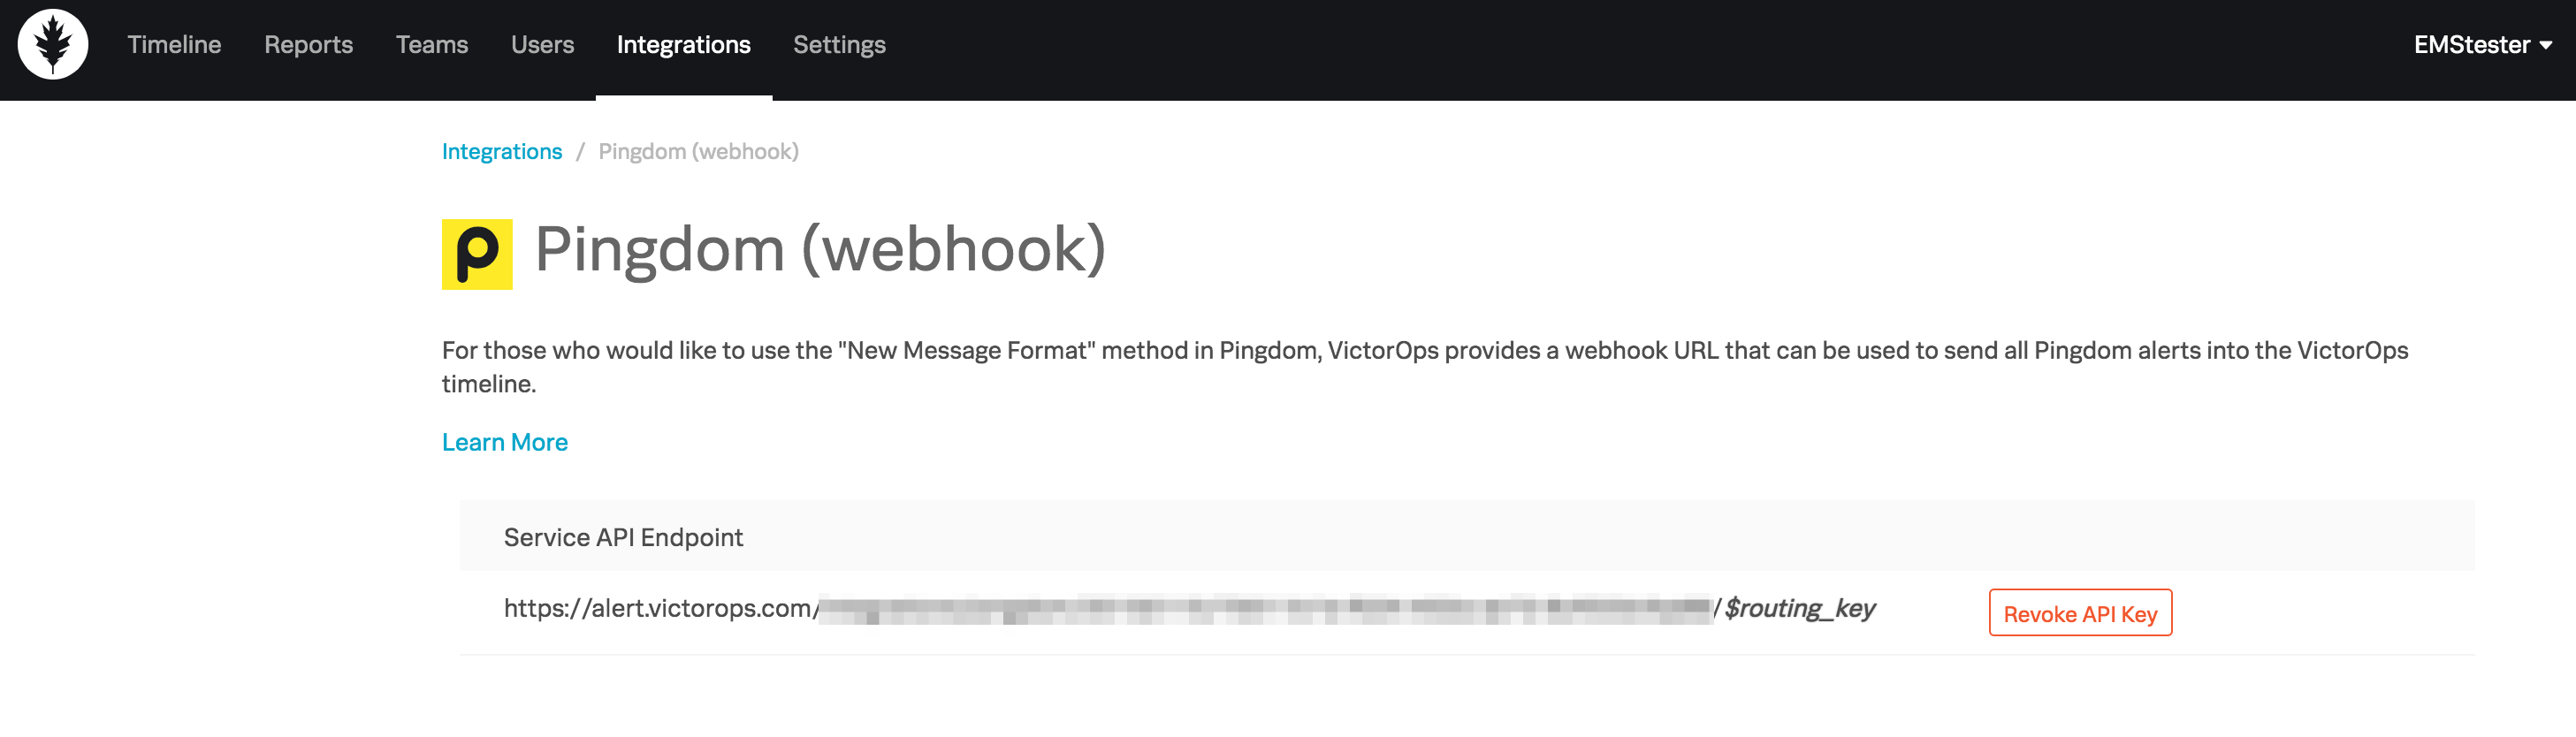
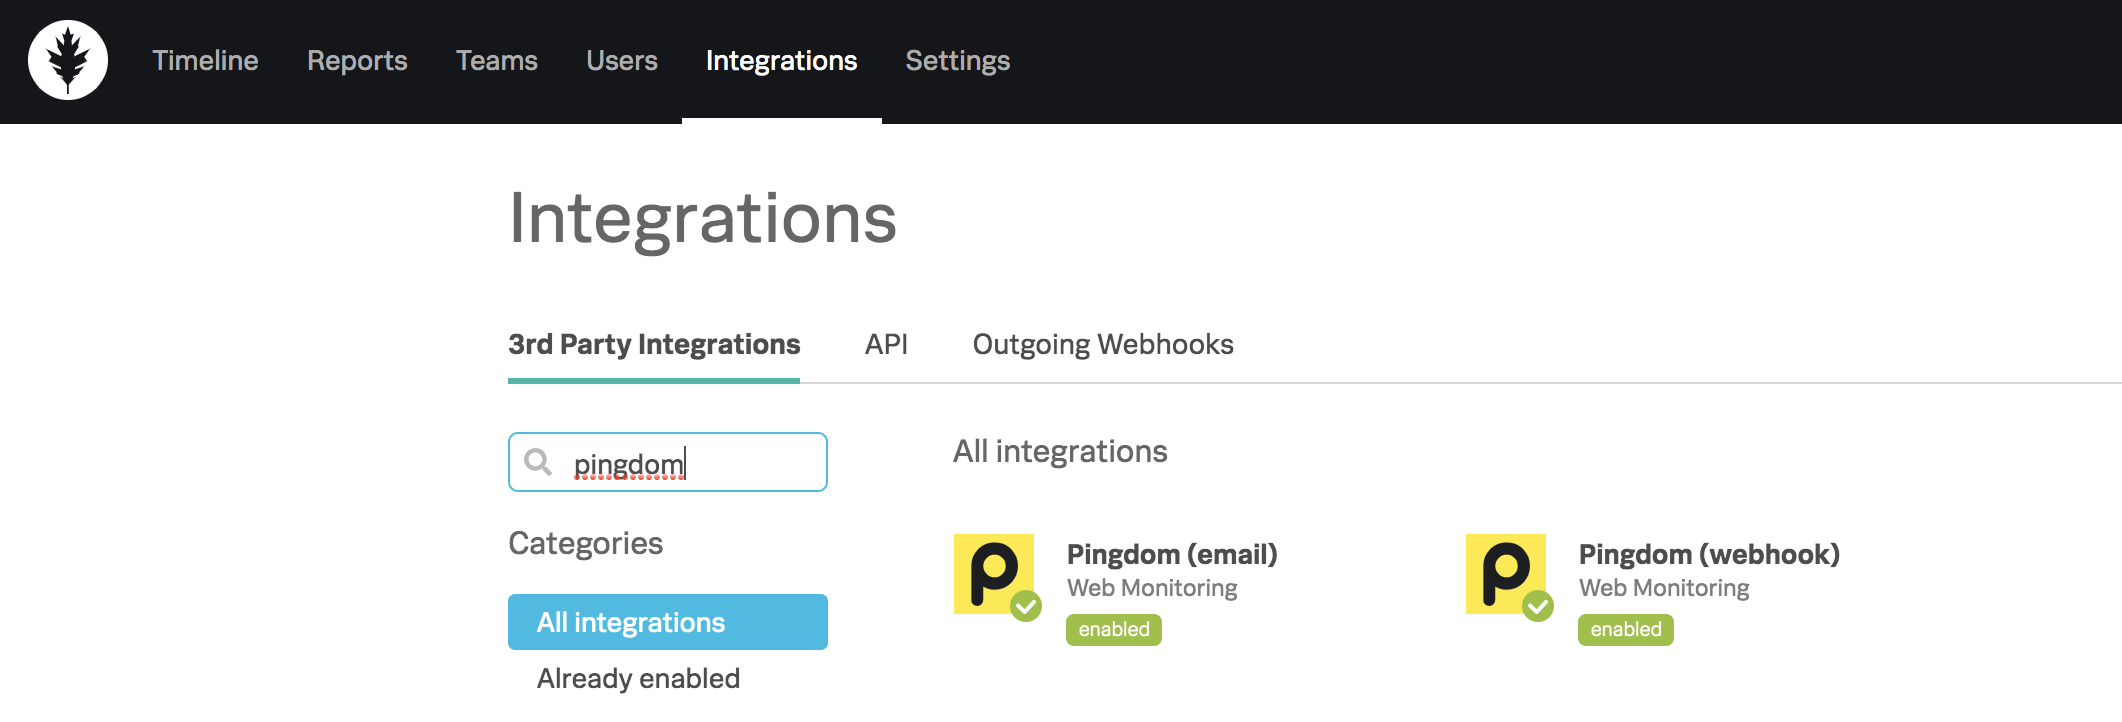
In VictorOps, select Integrations >> Pingdom (Webhook)
If the integration has not yet been enabled, click the Enable Integration button to generate your endpoint URL as seen below. Be sure to replace the “$routing_key” section with the actual routing key you intend to use. It is essential that you replace what you see here with the actual routing key you intend to use. Everything after the final forward slash must be replaced with you your key. For example, assuming a routing_key value of “database”:
………36437/$routing_key ==> ……..36437/database
Routing keys in VictorOps can be set up and associated by clicking on Settings >> Route Keys.
For more information on routing keys and best practices, click HERE.
In Pingdom
Select “Integrations” from the menu bar on the left, click the “Integrations” option, then click “Add integration”.
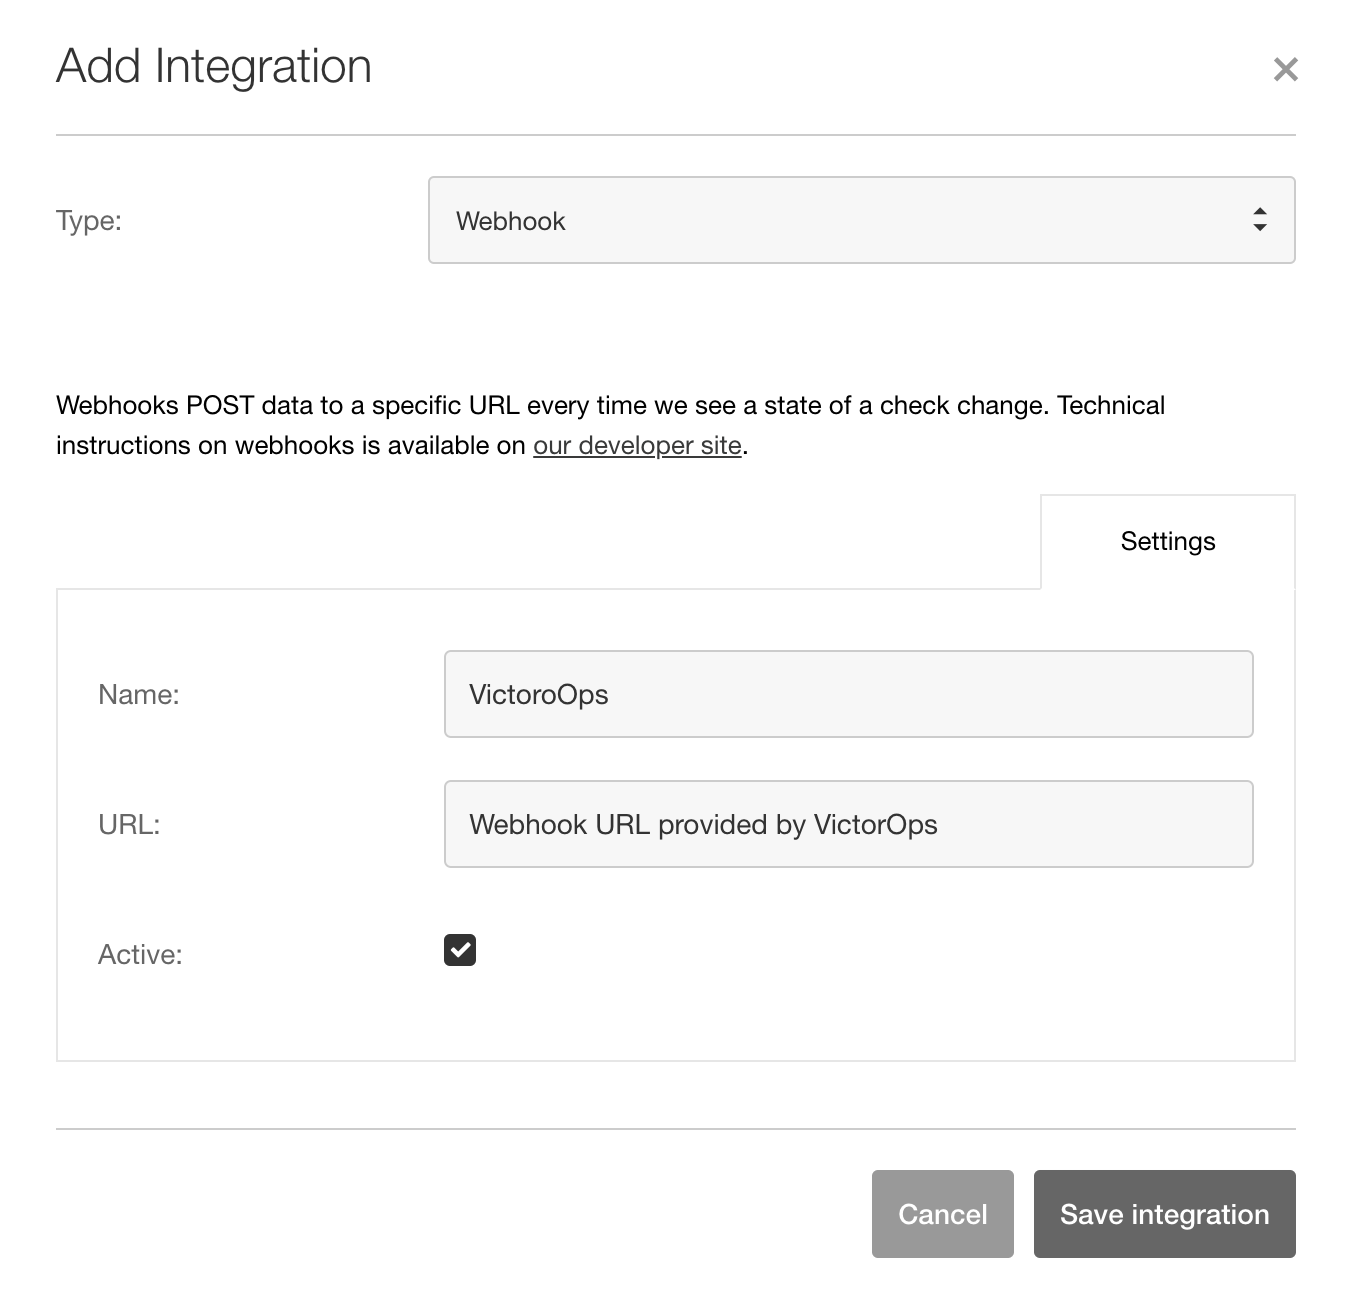
In the Add Integration window, use the drop-down menu for Type to select Webhook. Give the webhook a name and paste in the webhook URL provided by VictorOps. Be sure to replace the “$routing_key” section with your actual routing key. Finally, click Save Integration.
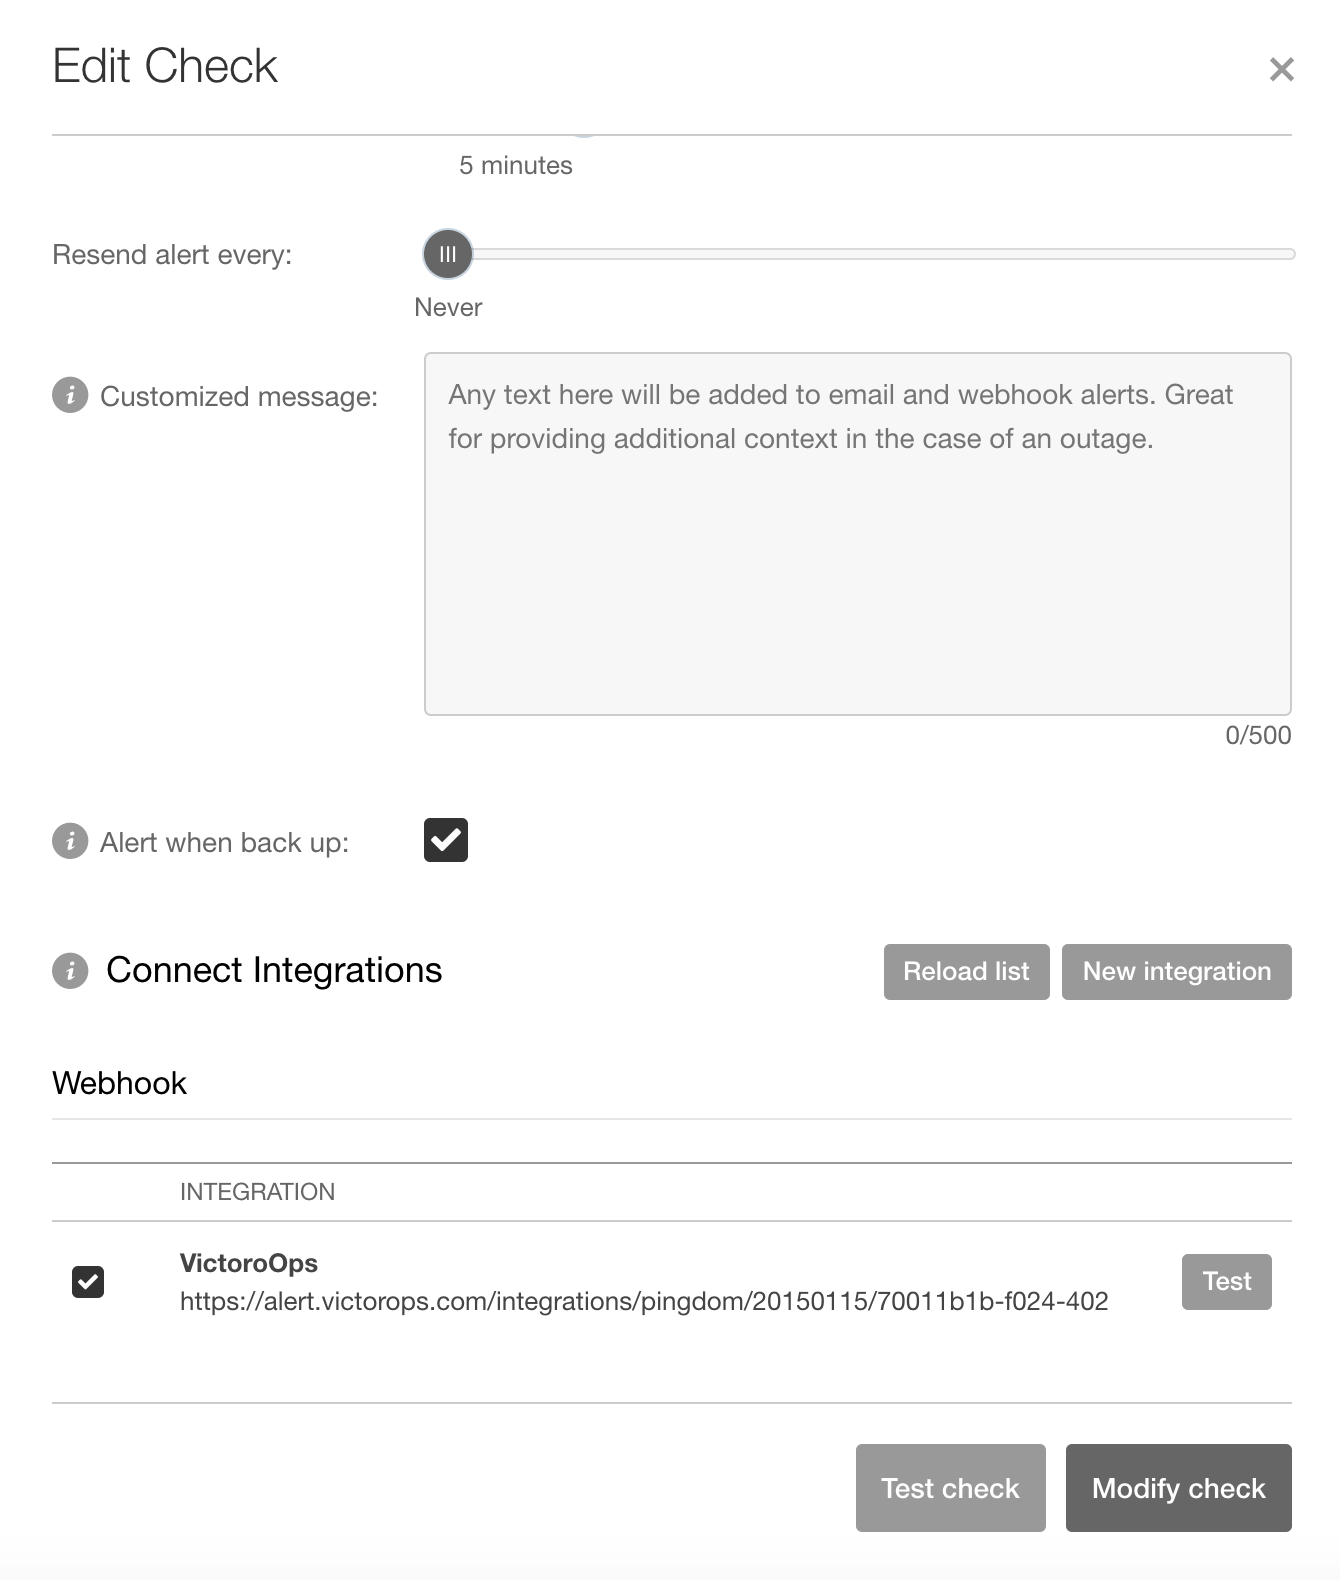
When creating or editing checks, scroll to the bottom of the settings to select the new integration you have just added. It is not necessary to include any alerting actions for the webhook to function.
Email Endpoint Integration
In VictorOps (Email)
Navigate to Integrations >> Pingdom (Email)
If the integration has not already been enabled, enable the integration and copy the email endpoint.
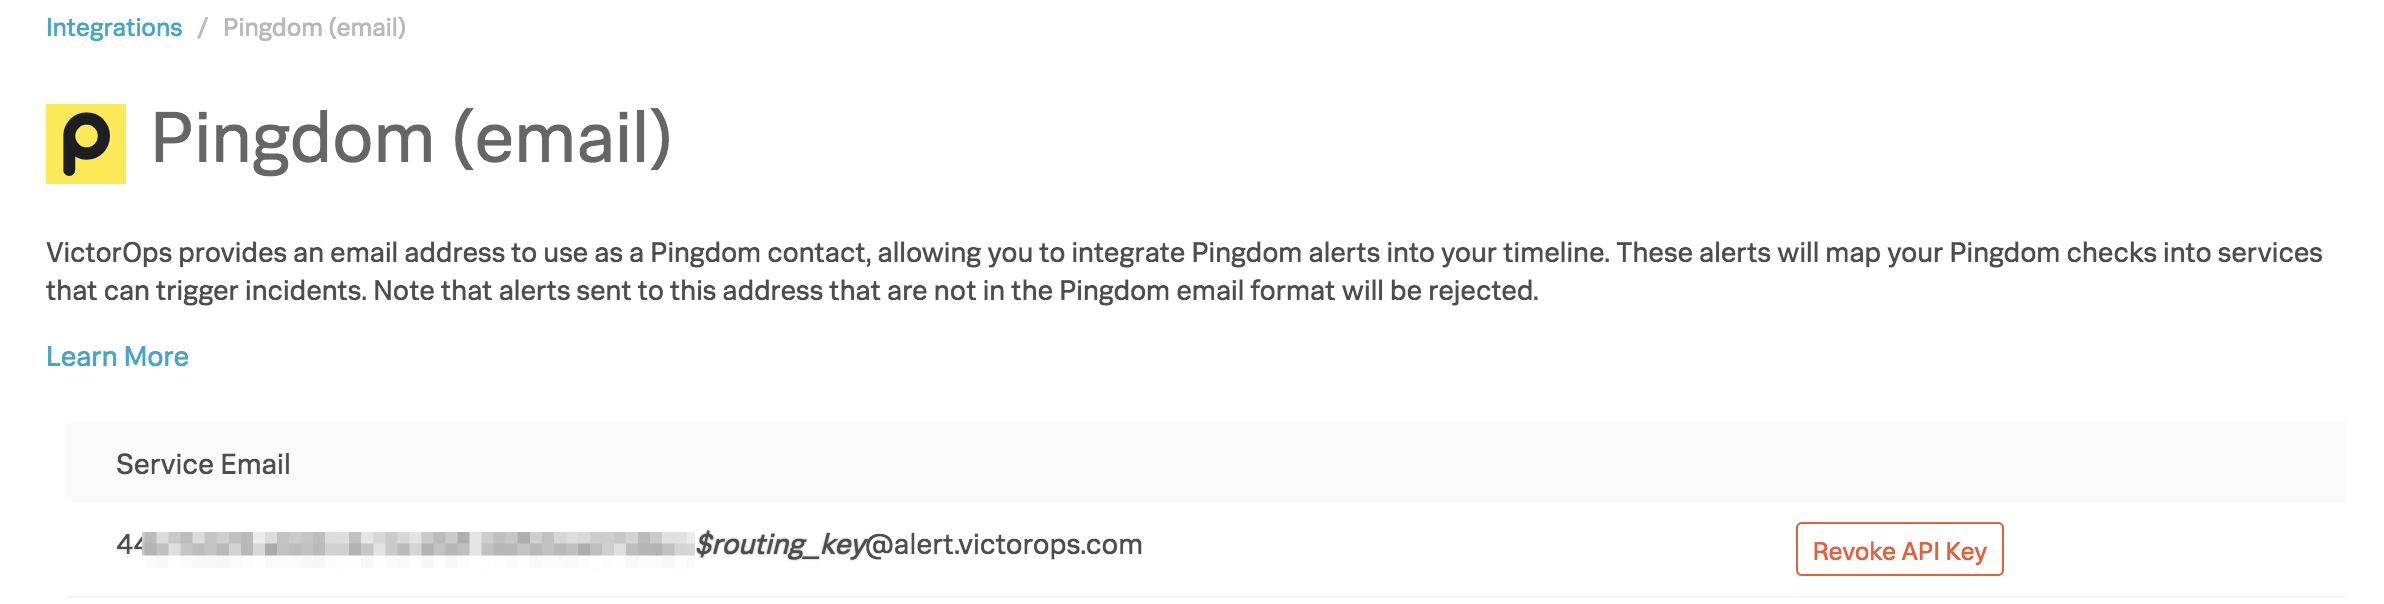
The Routing Key (+$routing_key) can be used to route an email endpoint initiated incident to a specific team or teams within VictorOps. You will want to be sure to replace $routing_key within the Email endpoint address with a valid routing_key found within your VictorOps instance.
In Pingdom (Email)
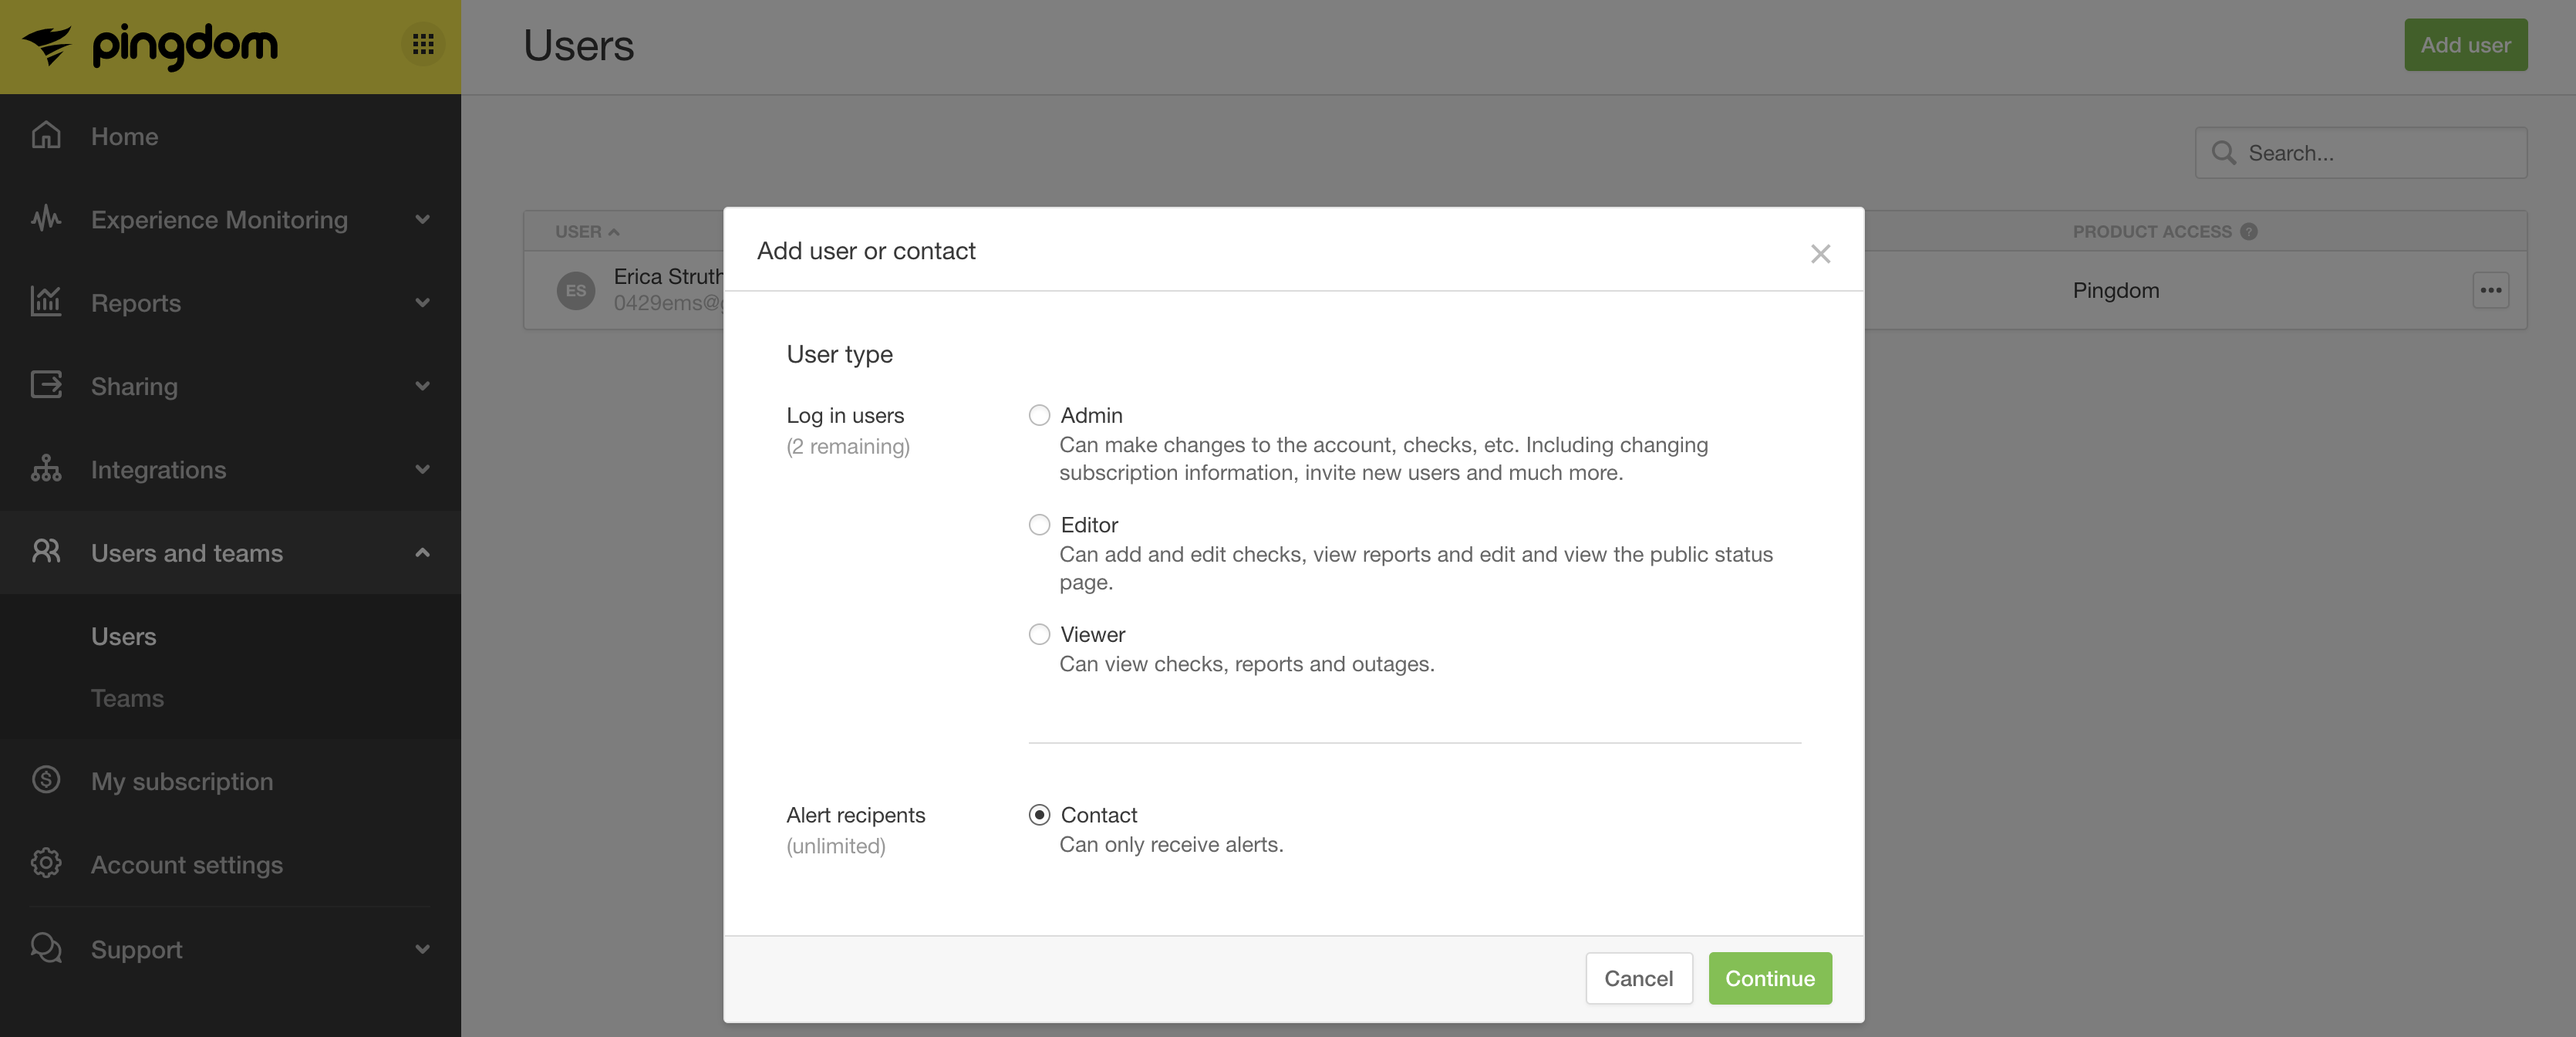
Navigate to Users and Teams in the side-menu of Pingdom and select Users.
In the upper right corner select ‘Add User’. When creating the new VictorOps user make sure to select, next to Alert recipients, Contact; can only receive alerts.
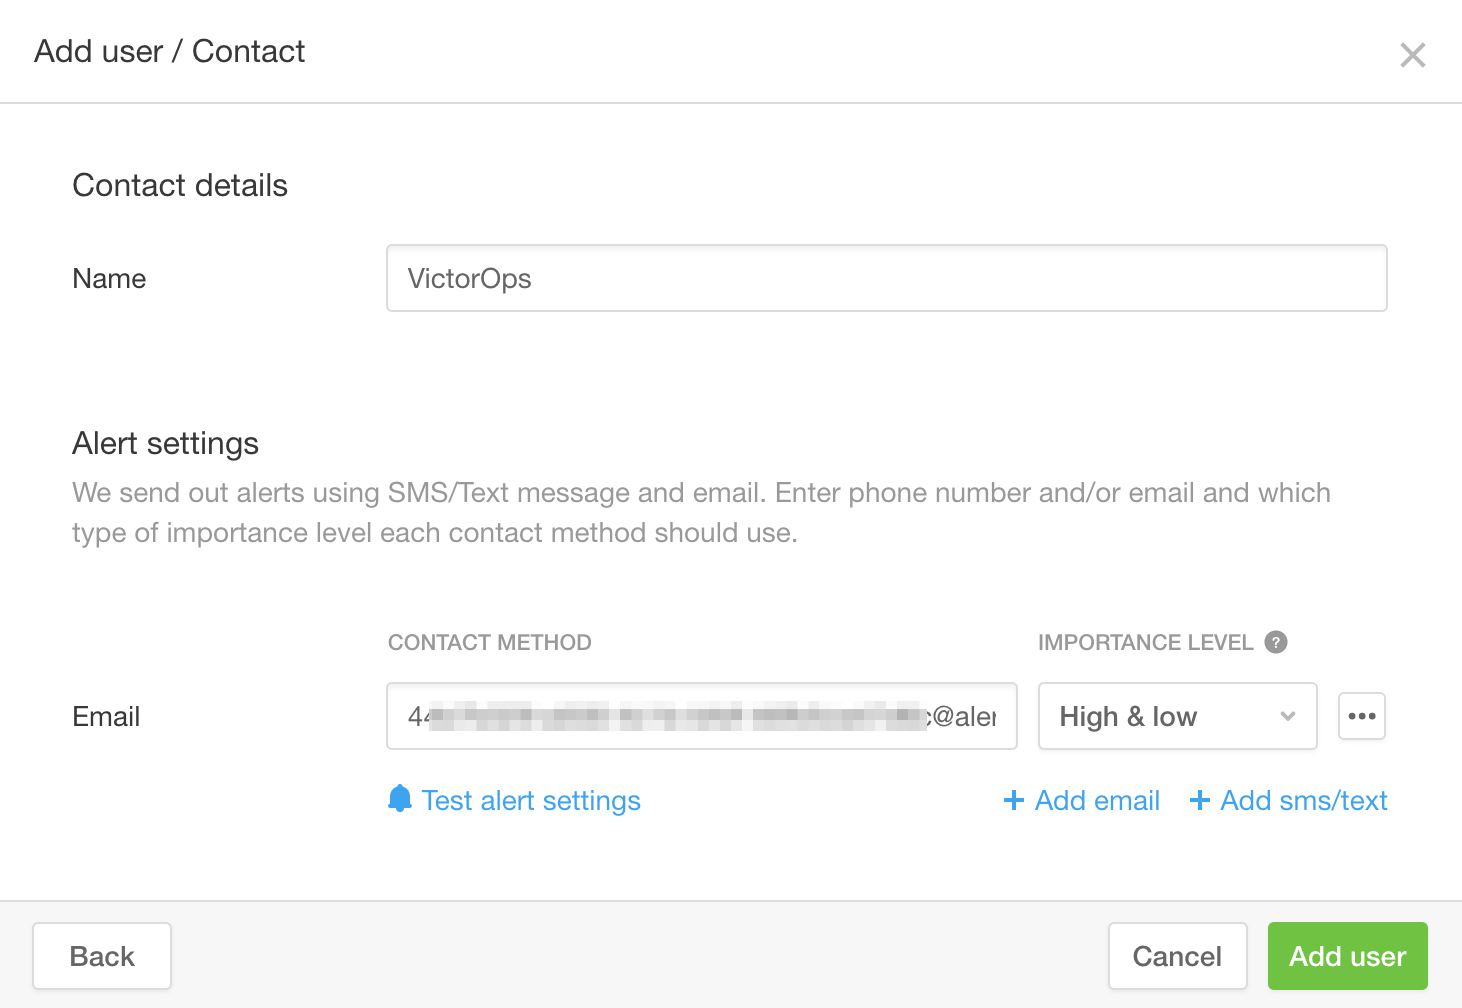
Next, under contact details, give your contact a name. We suggest giving the contact a name that will be intuitive to where the alert will be sent (ie. VictorOps). Then paste the VictorOps Pingdom Email endpoint into the contact method. Save the user by clicking Add User.
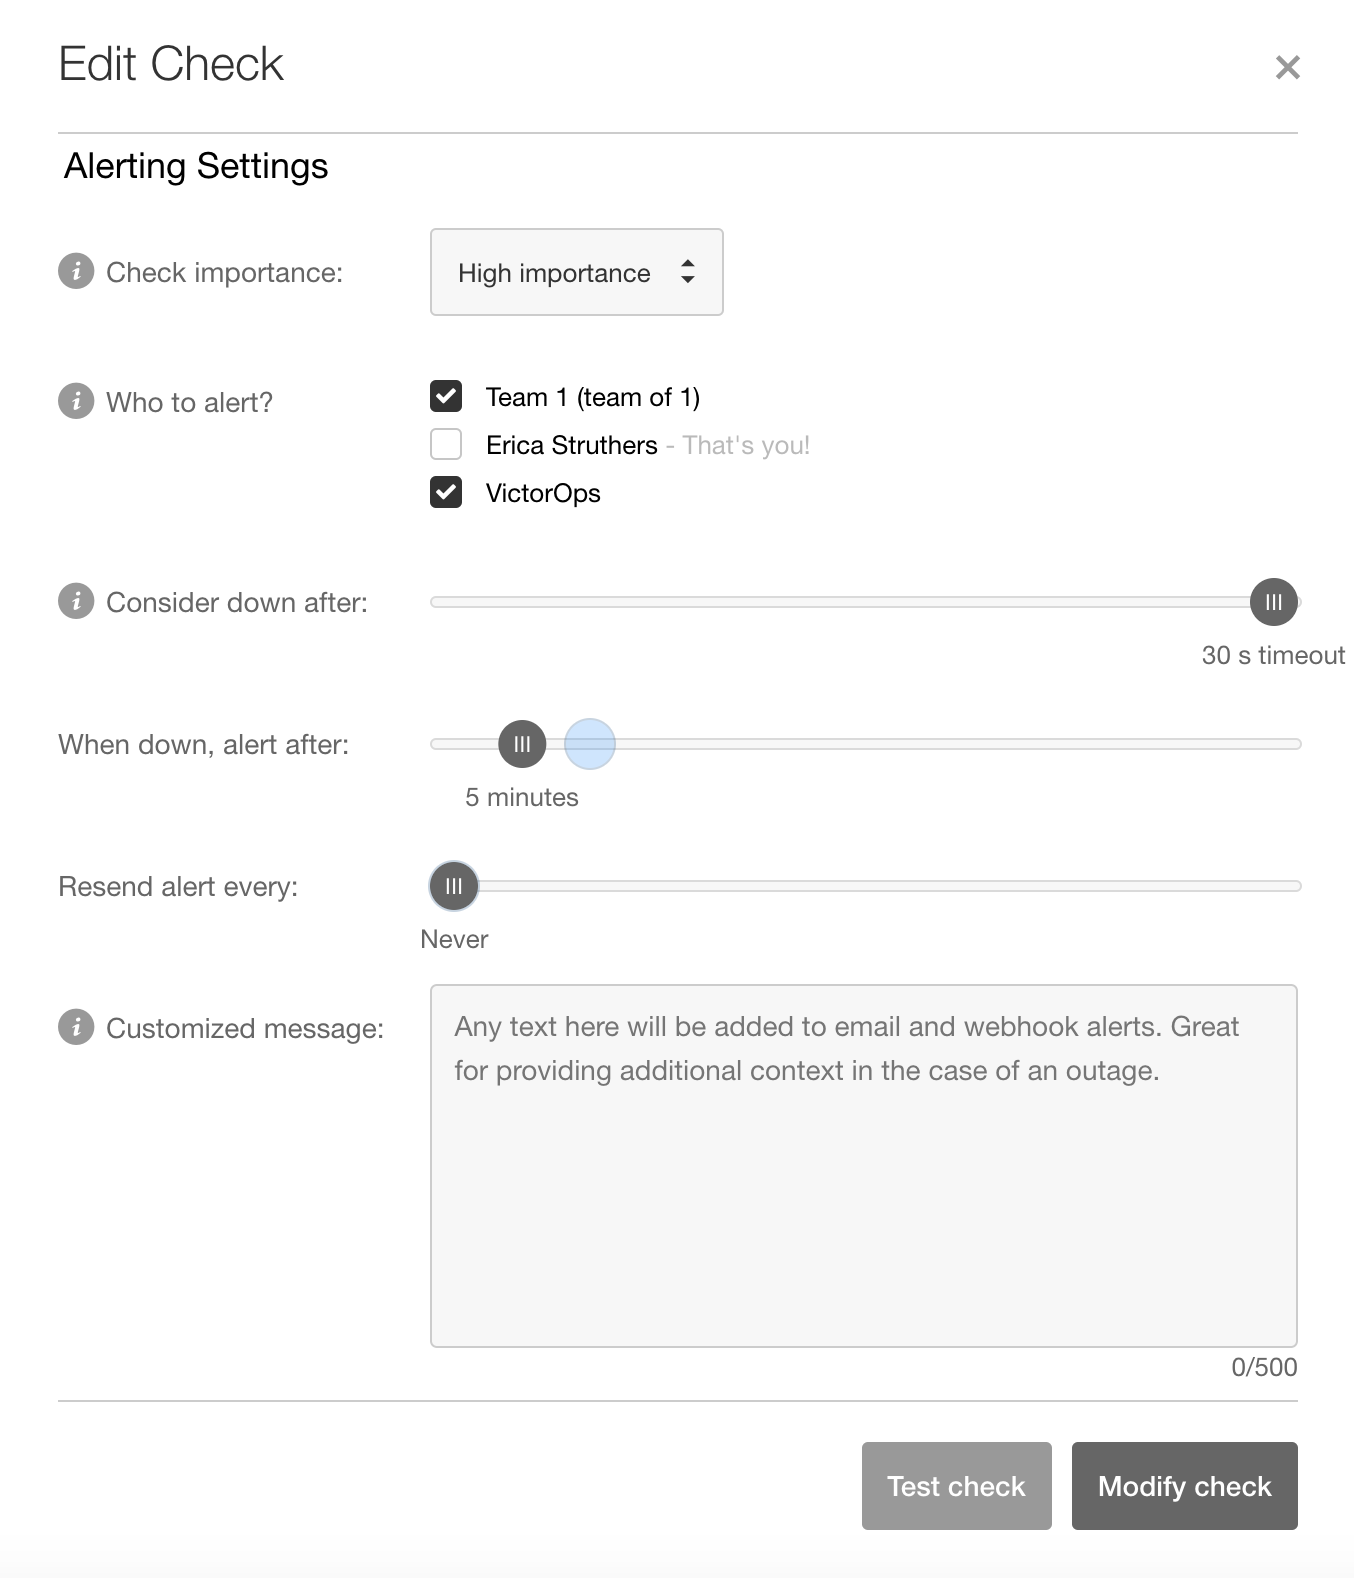
Now under Experience Monitoring, you can add your new contact to your desired checks. You can add the user to your desired checks by editing a check and selecting your user for ‘Who to alert?‘. Once selected and saved, this check will alert your VictorOps email endpoint.