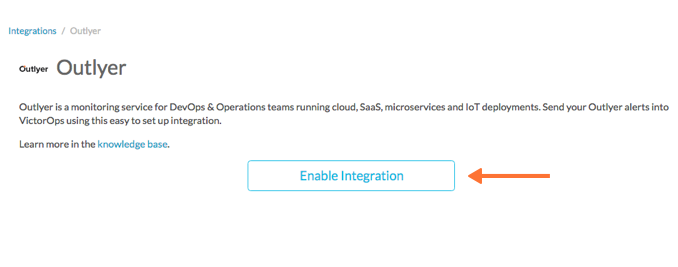
Outlyer is a monitoring service for DevOps & Operations teams running Cloud, SaaS, Microservices and IoT deployments. Designed for today’s dynamic environments that need beyond cloud-scale monitoring, it makes monitoring effortless so you can concentrate on running a better service for your users. The following guide will walk you through this integration.
In VictorOps
From the VictorOps web portal, select Settings, then Alert Behavior, then Integrations.
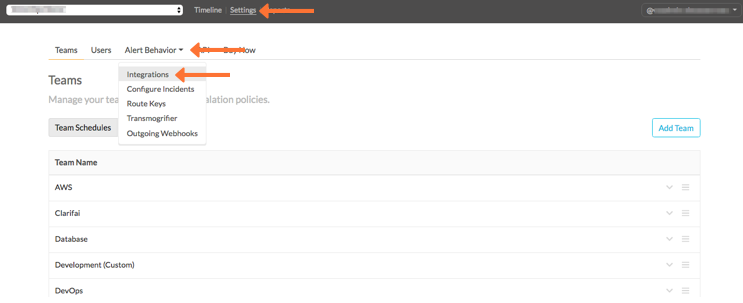
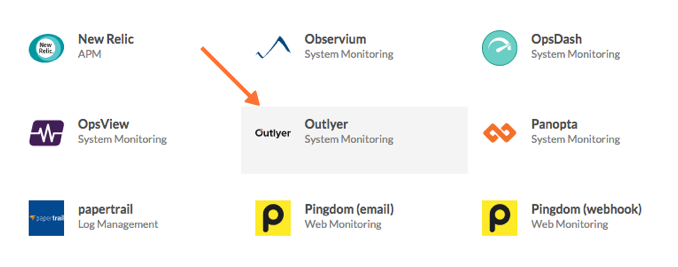
Select the Outlyer integration option.
Click Enable Integration.
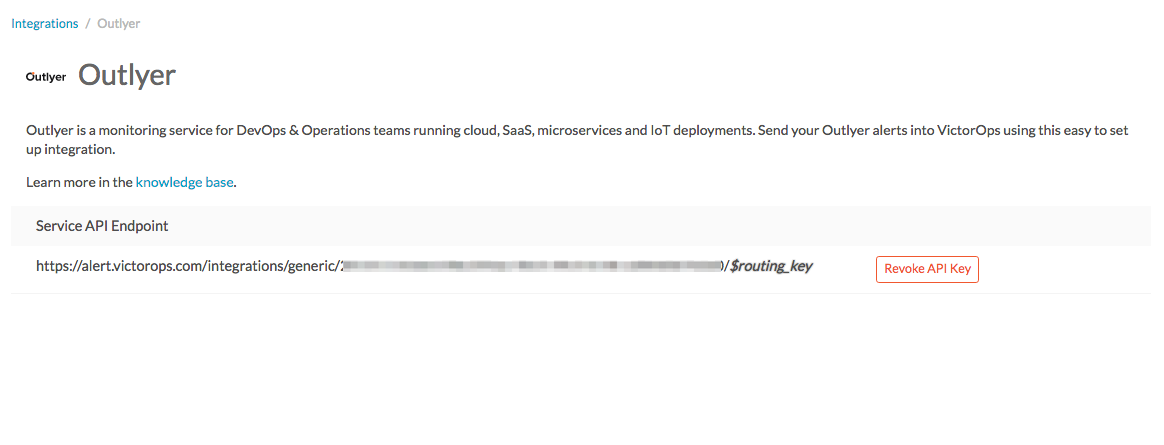
Copy the Service API Endpoint to the clipboard. Be sure to replace the “$routing_key” section with the actual routing key you intend to use. (To view or configure route keys in VictorOps, click Alert Behavior, then Route Keys)
In Outlyer
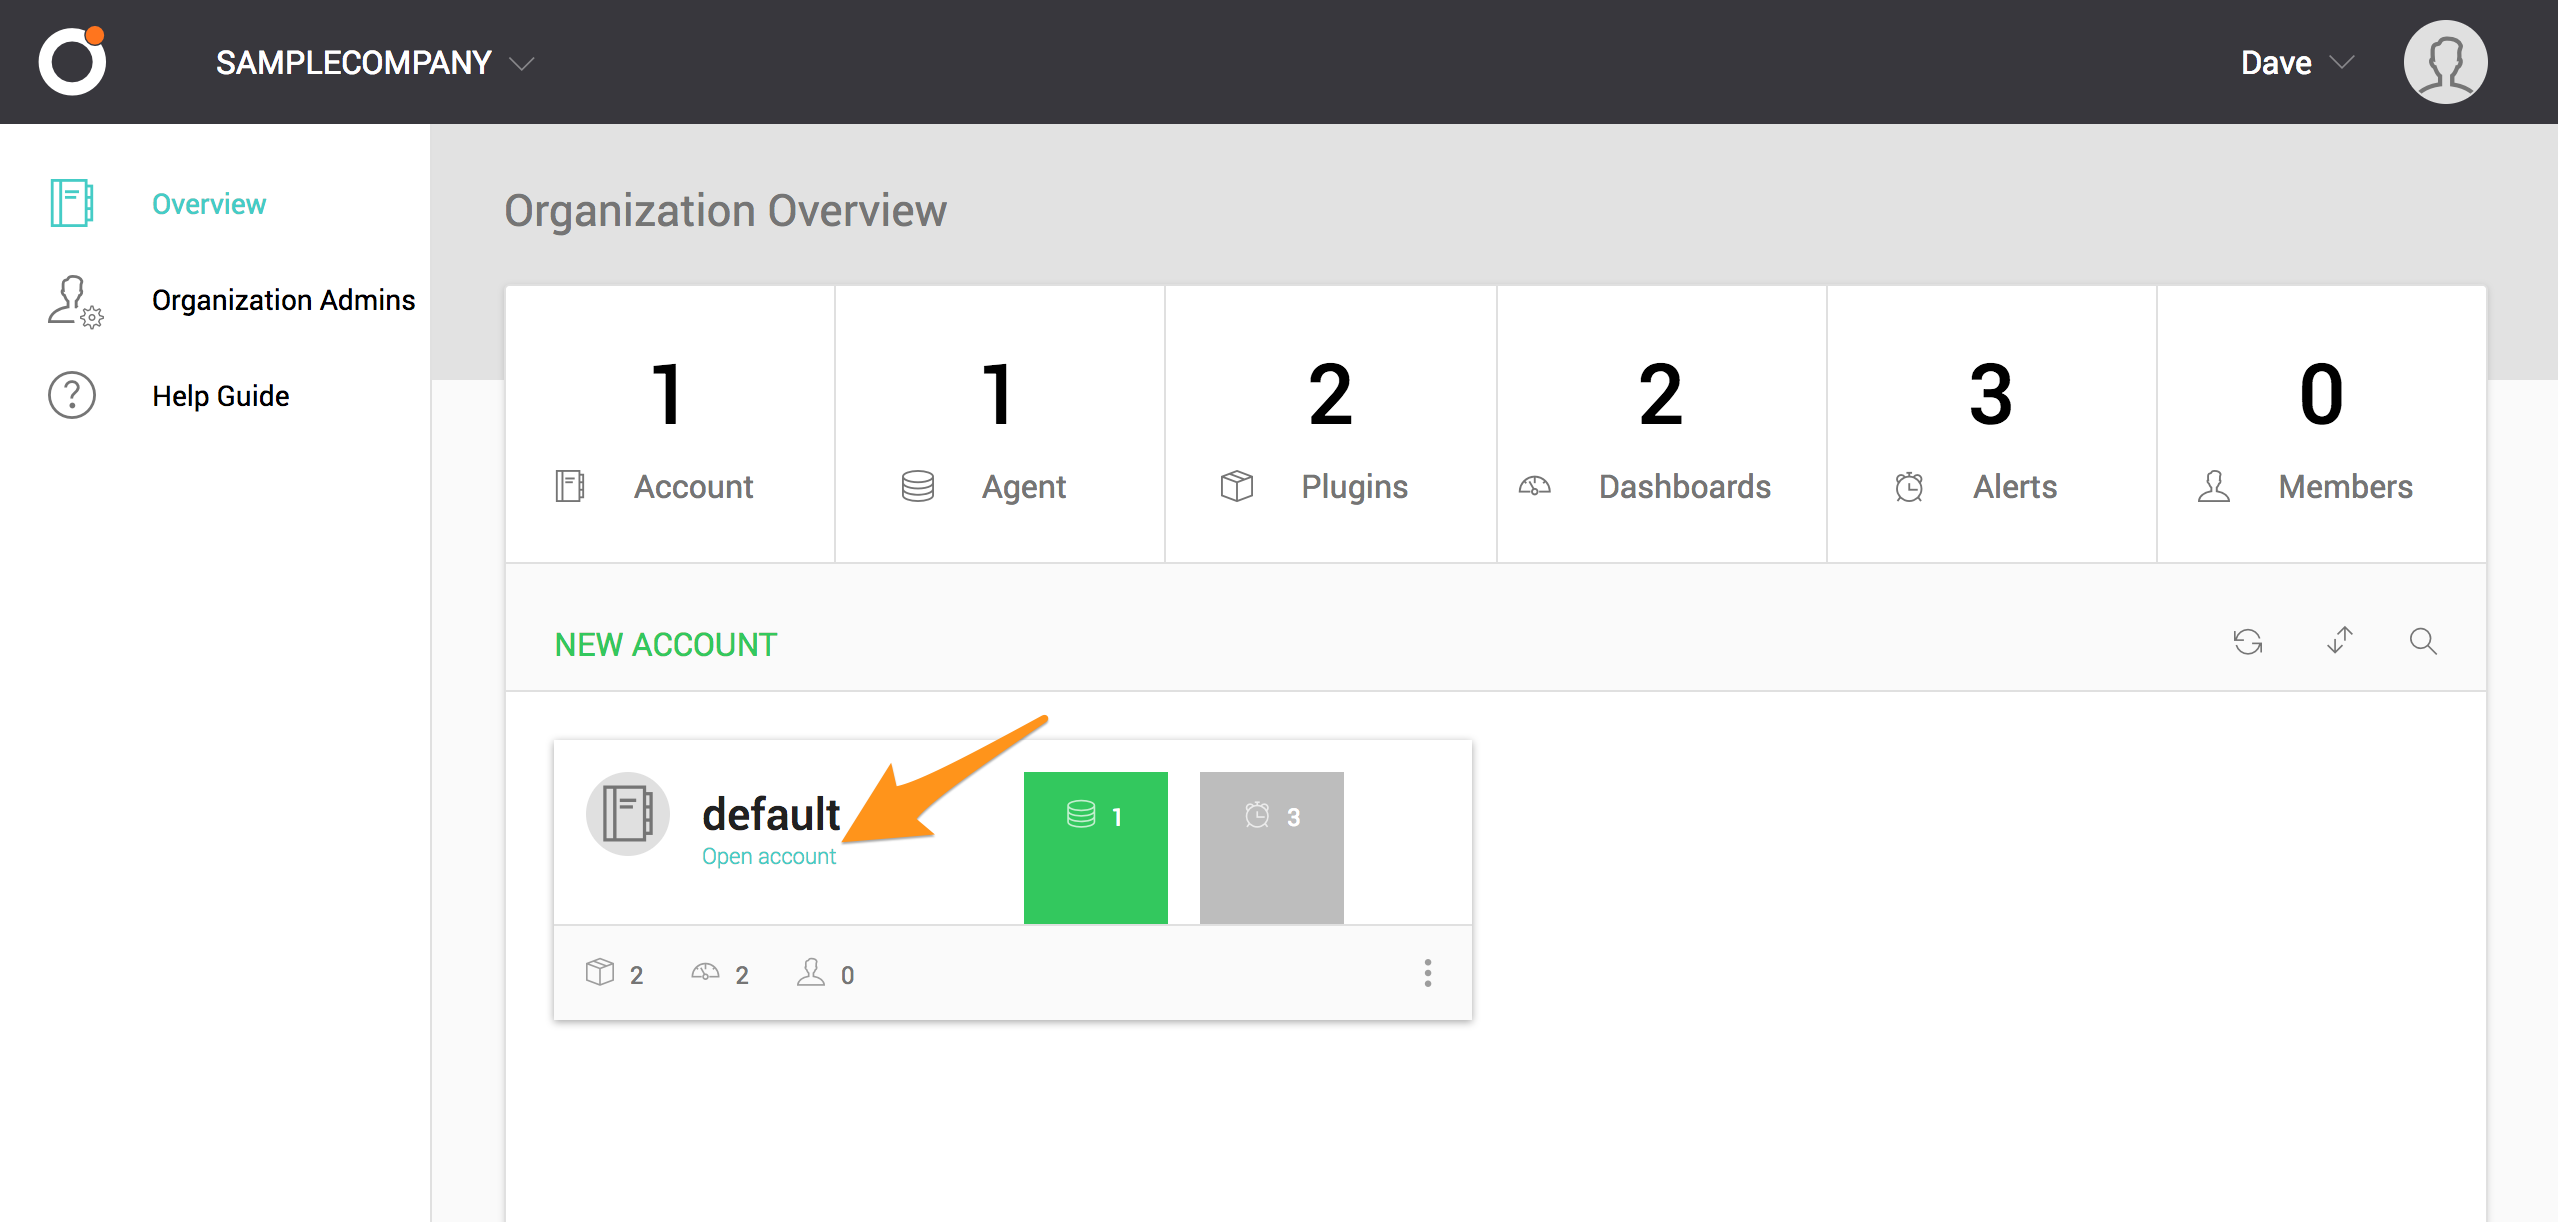
From the Outlyer web interface, select the account you want to use for the integration.
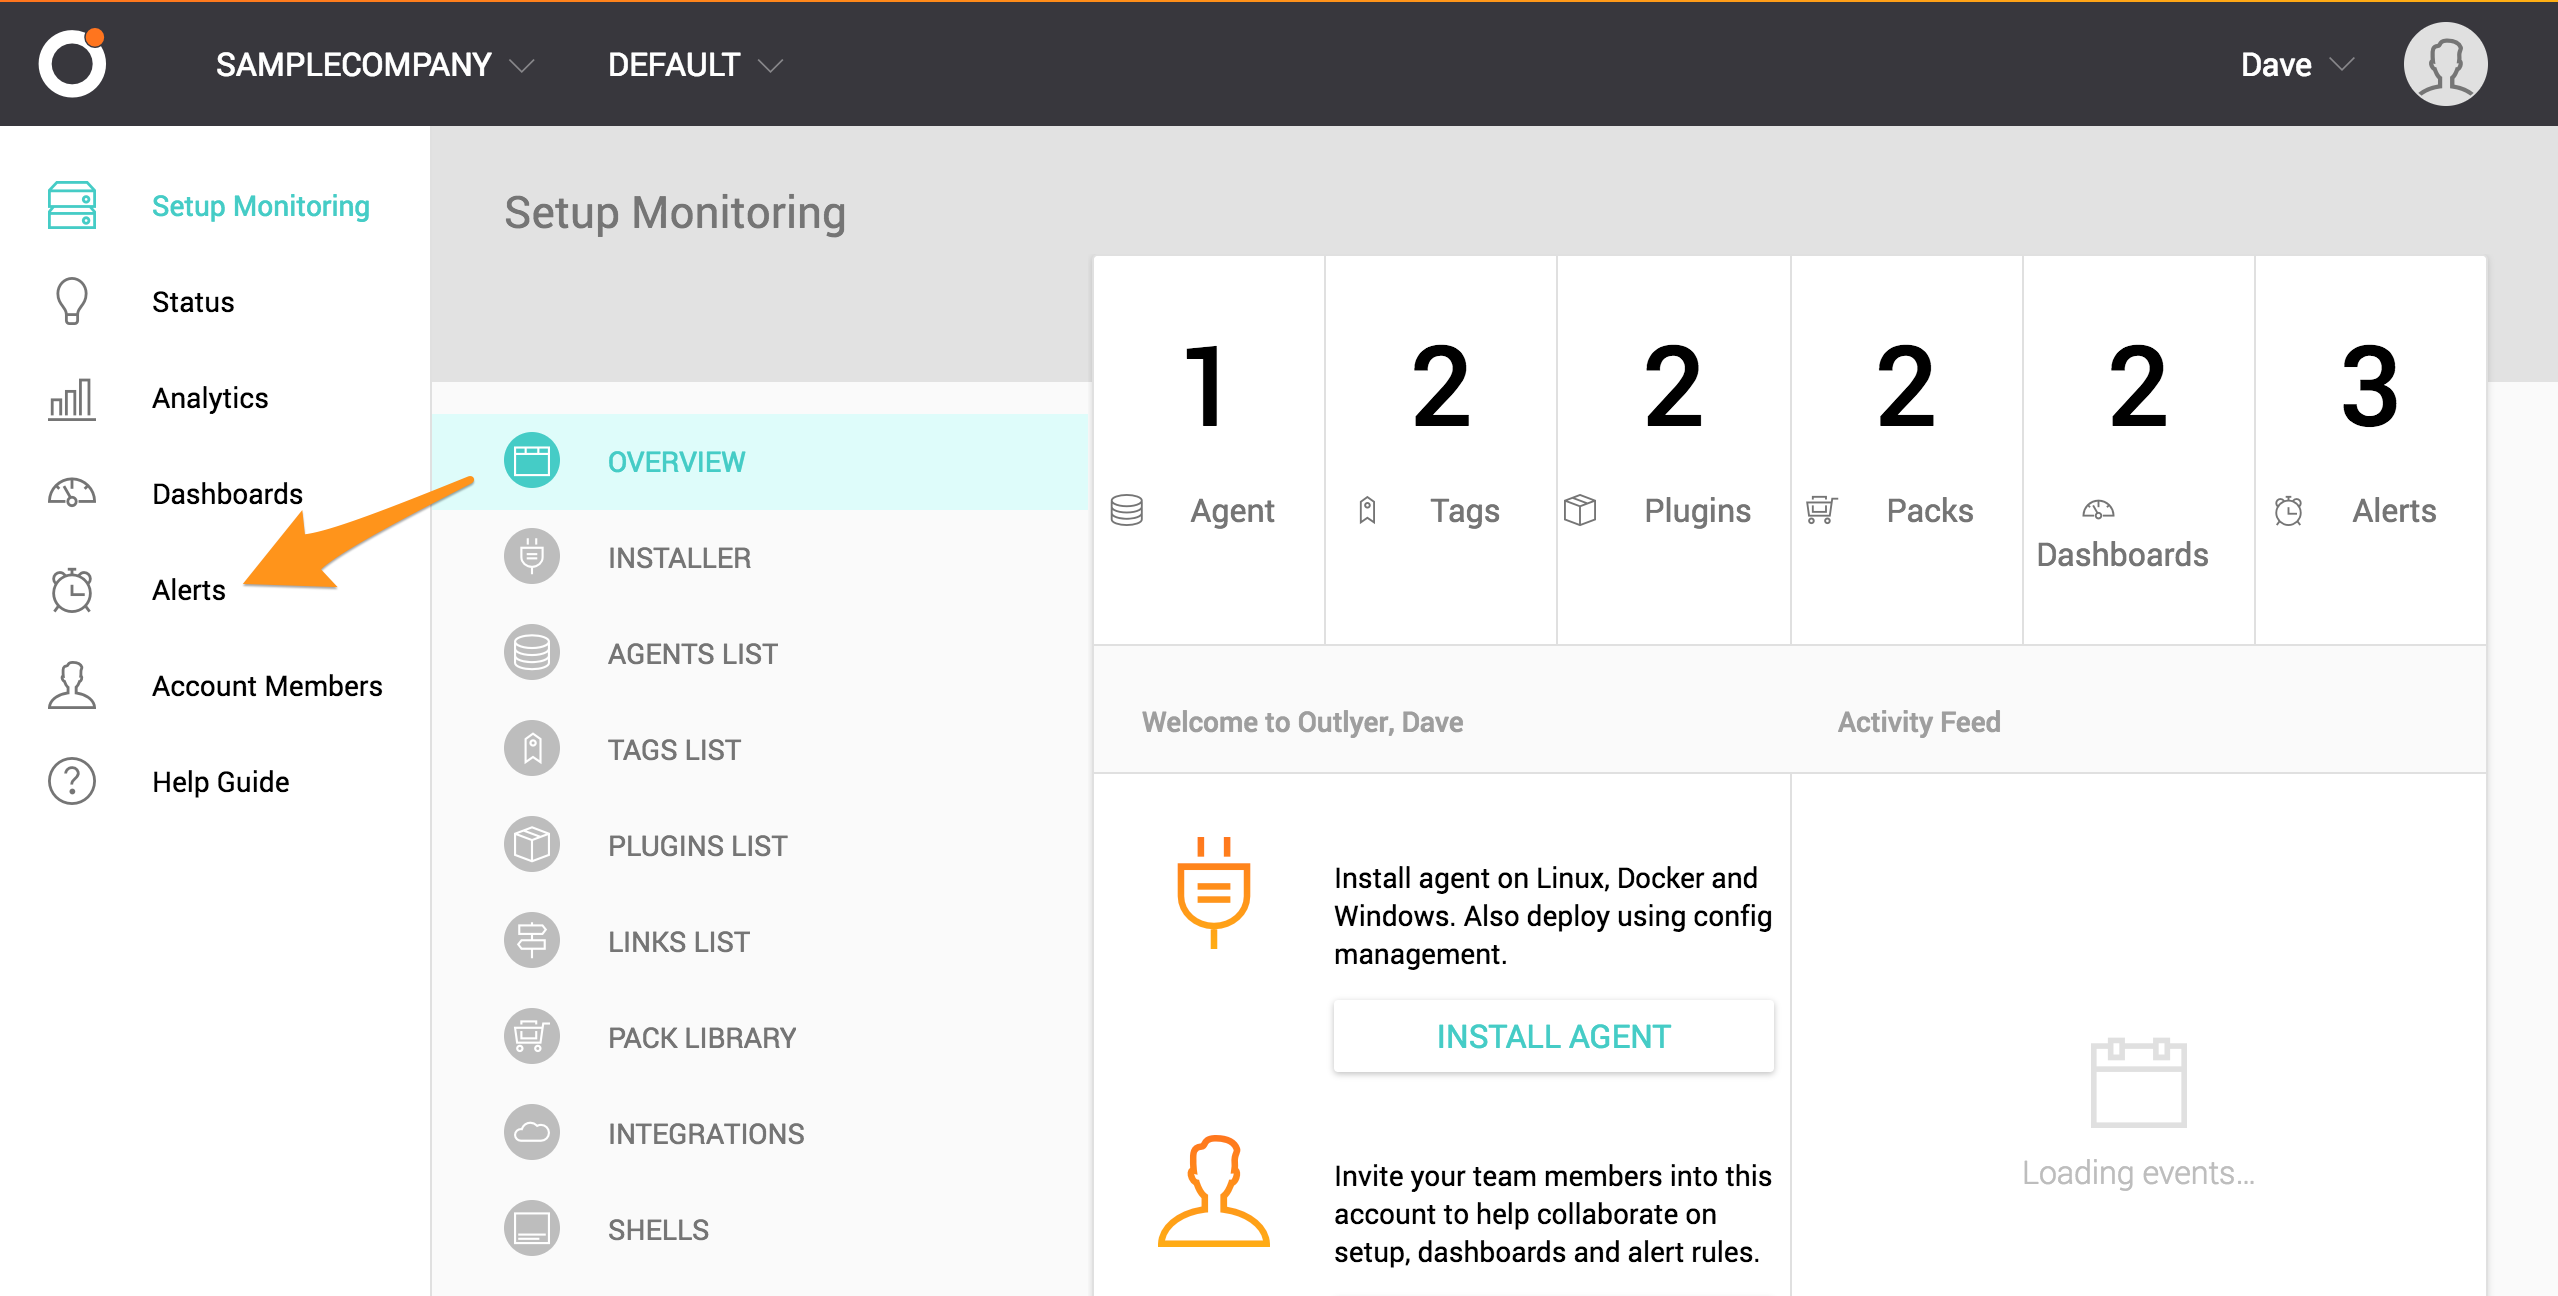
Select Alerts from the left sidebar.
Select an existing alert or ADD NEW ALERT if you need to create an alert to integrate.
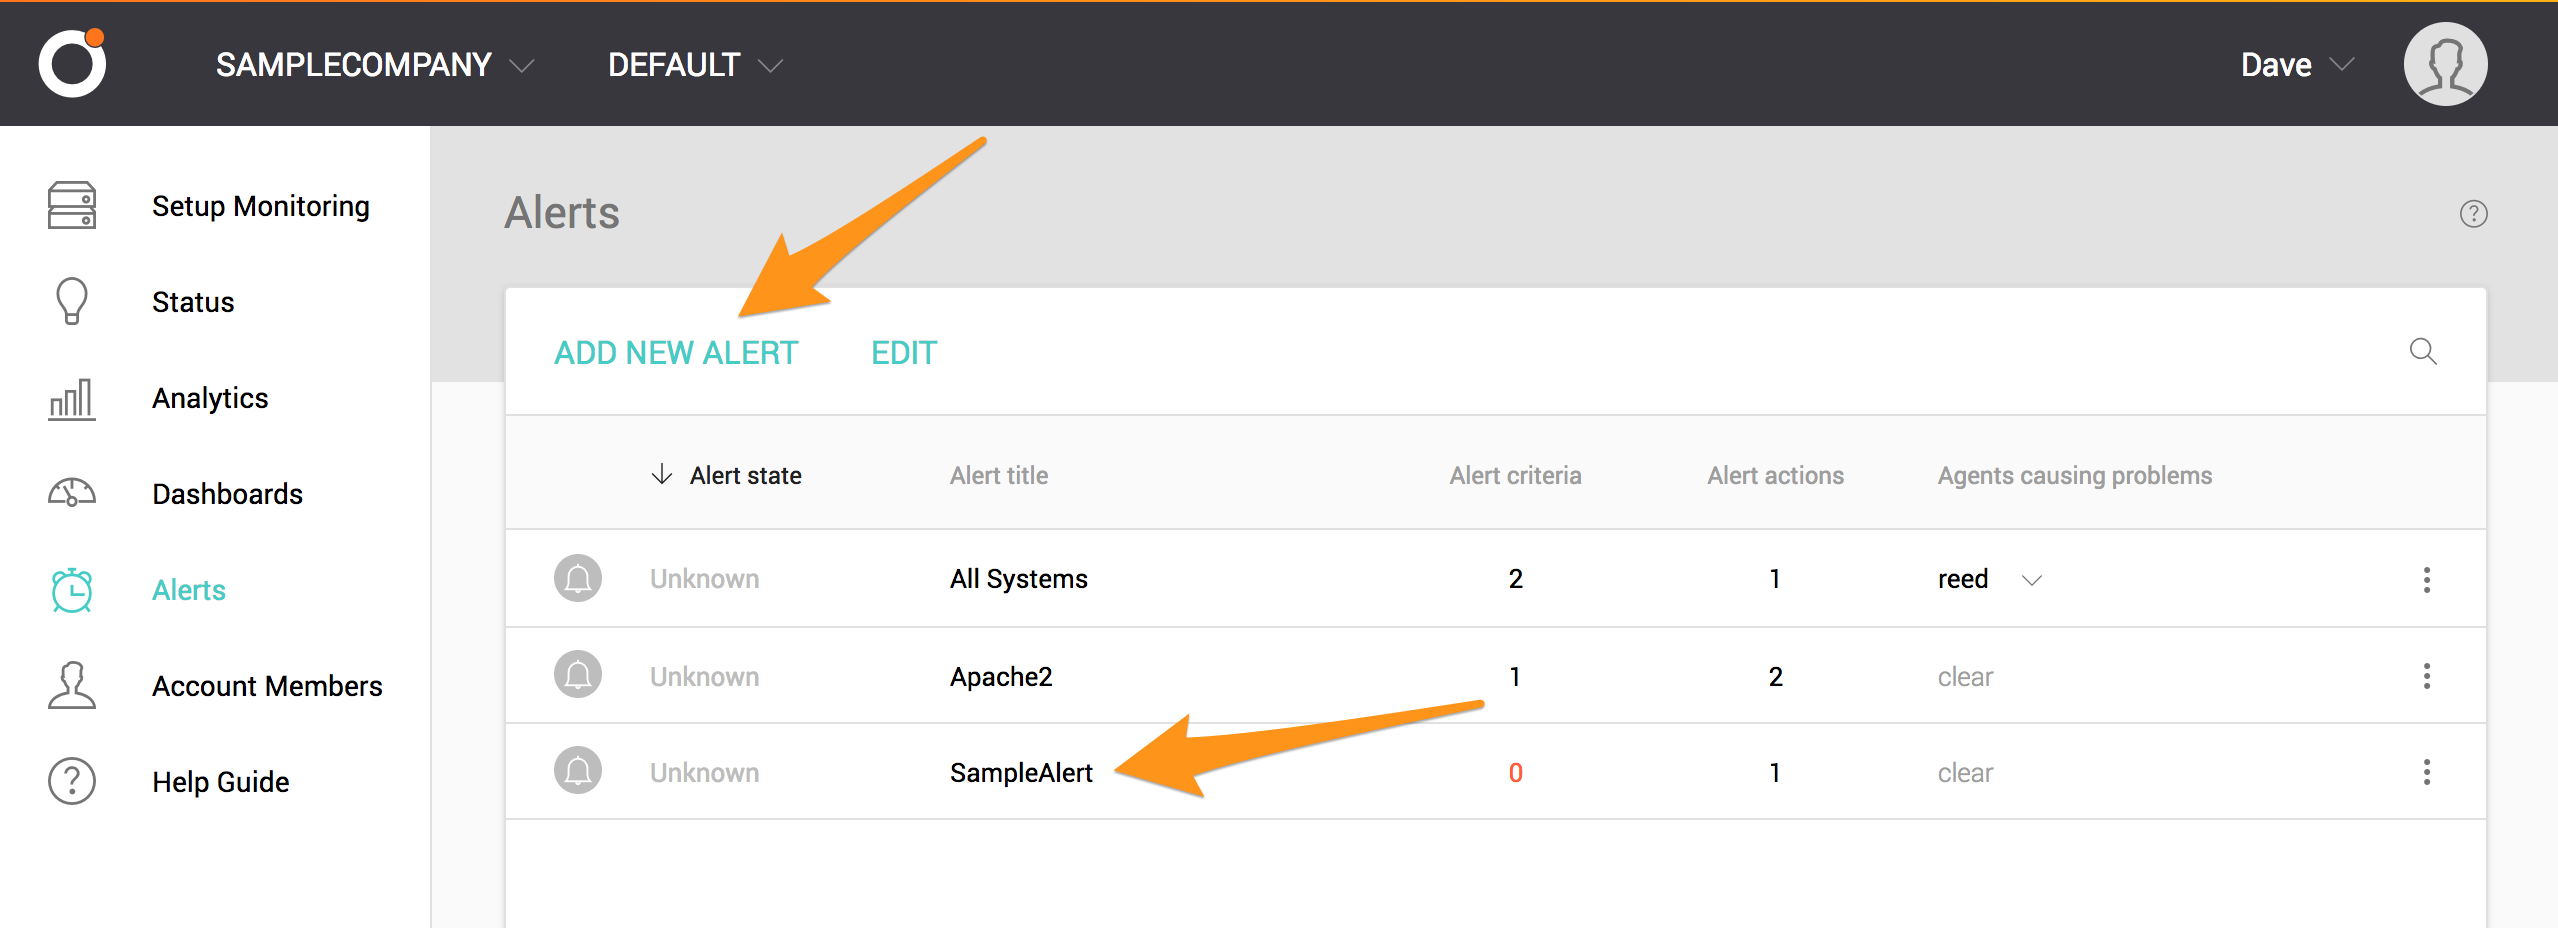
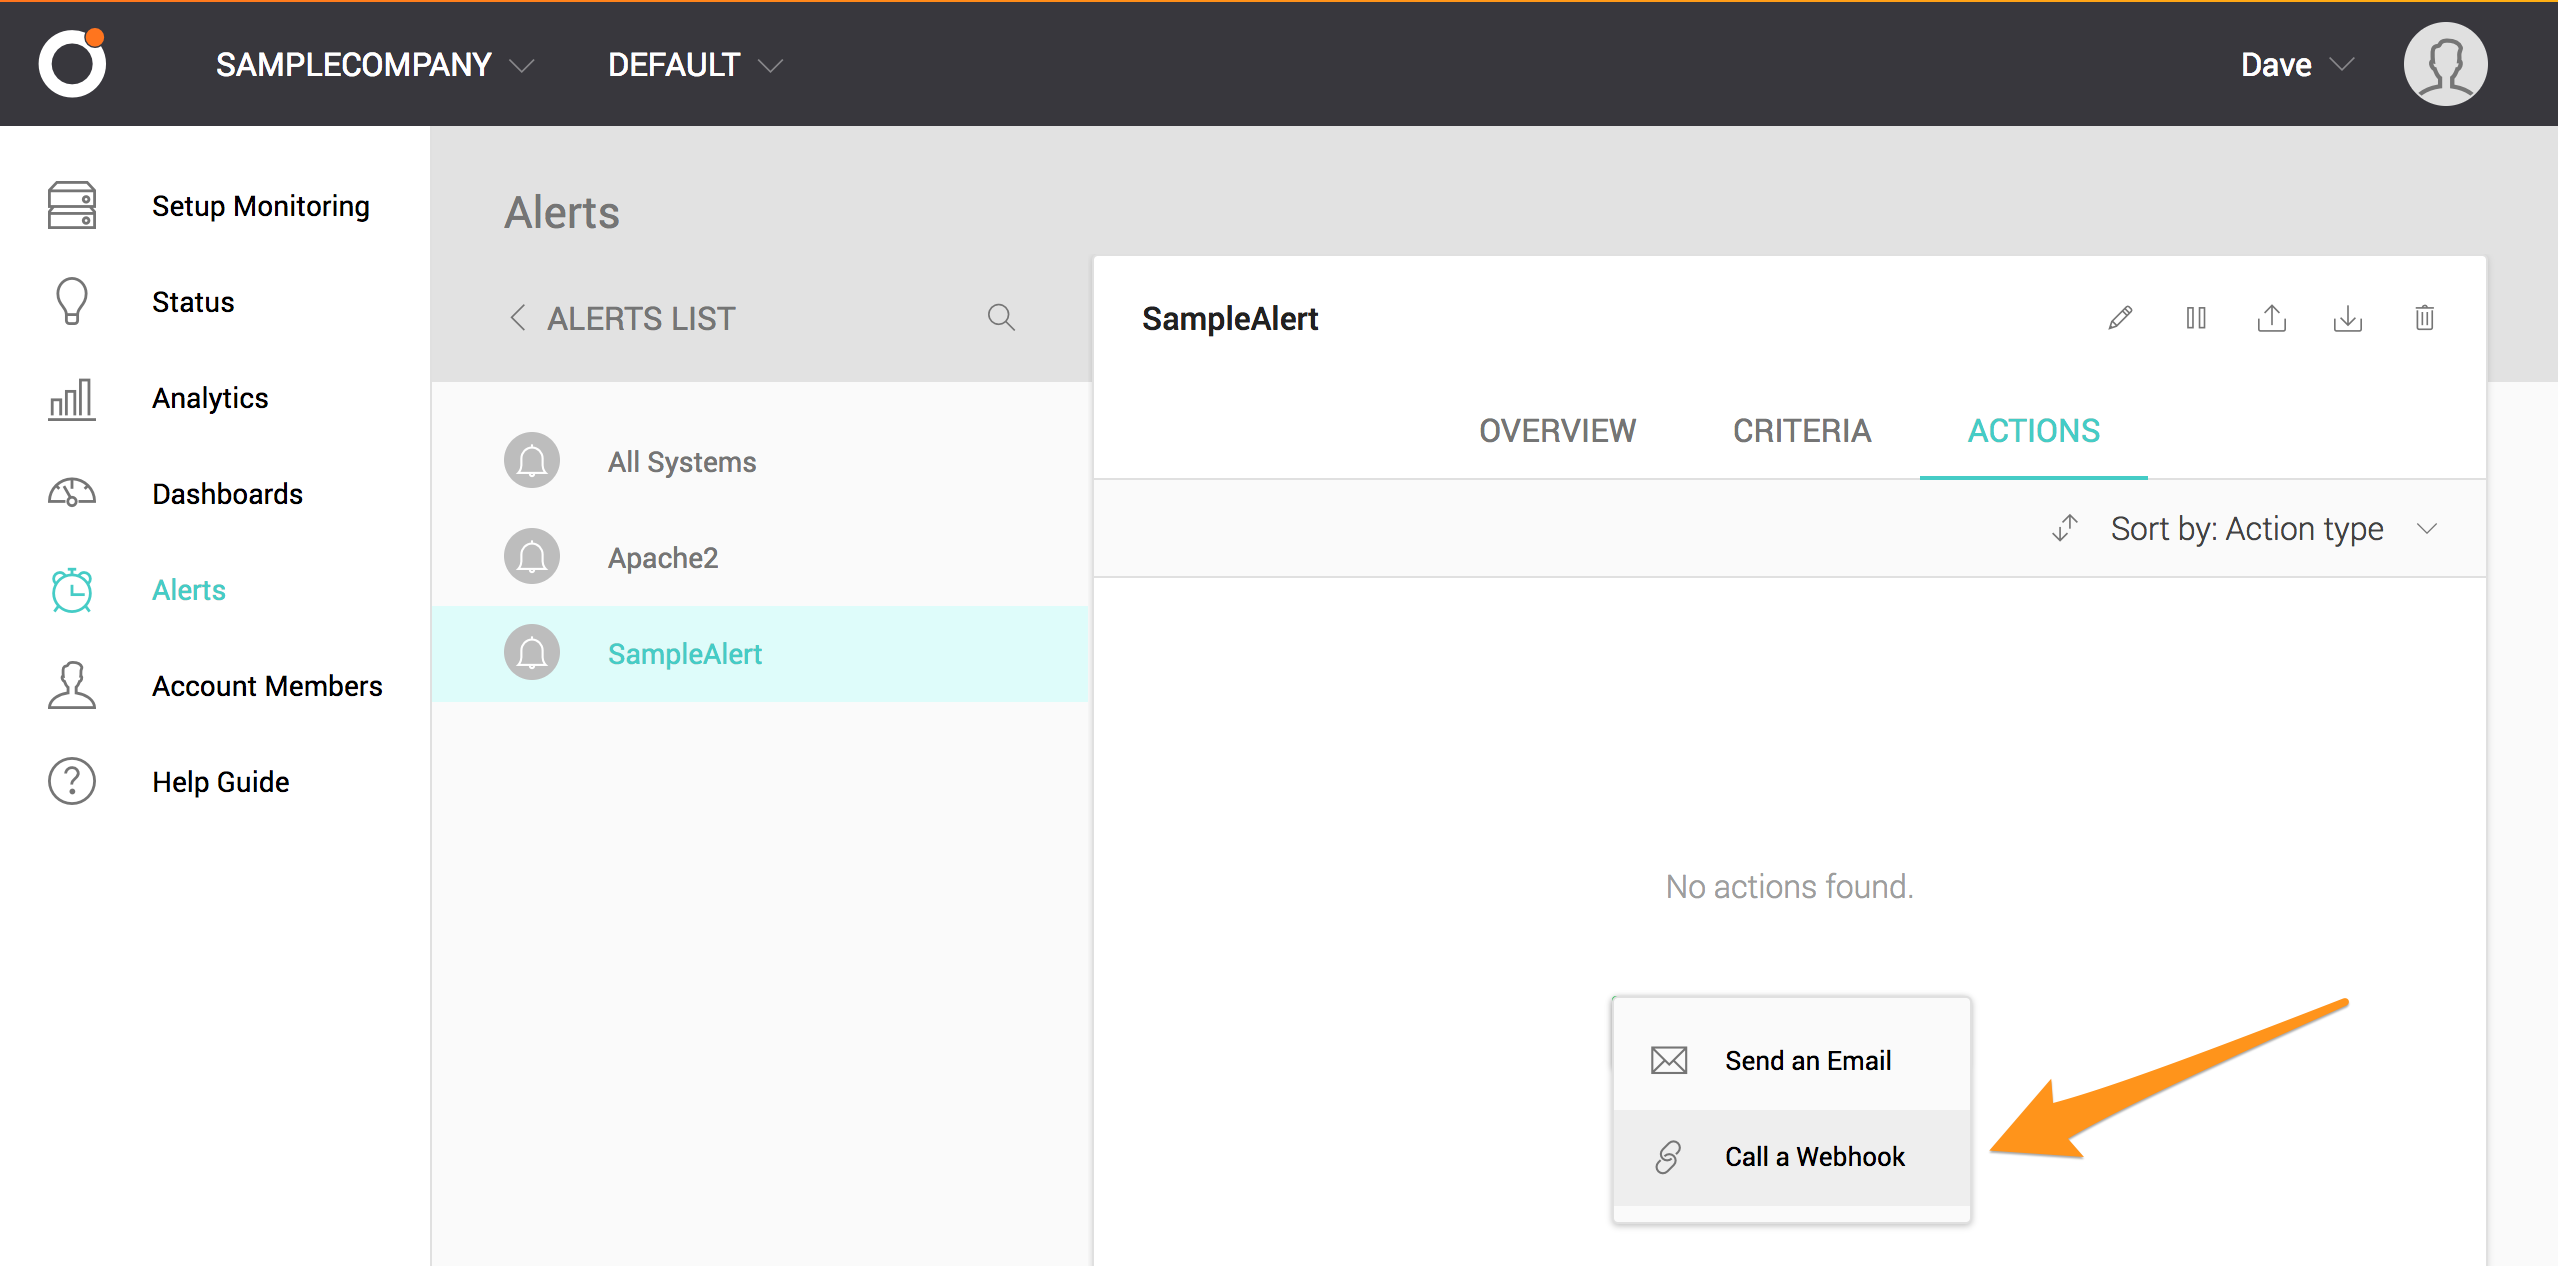
Select ACTIONS.

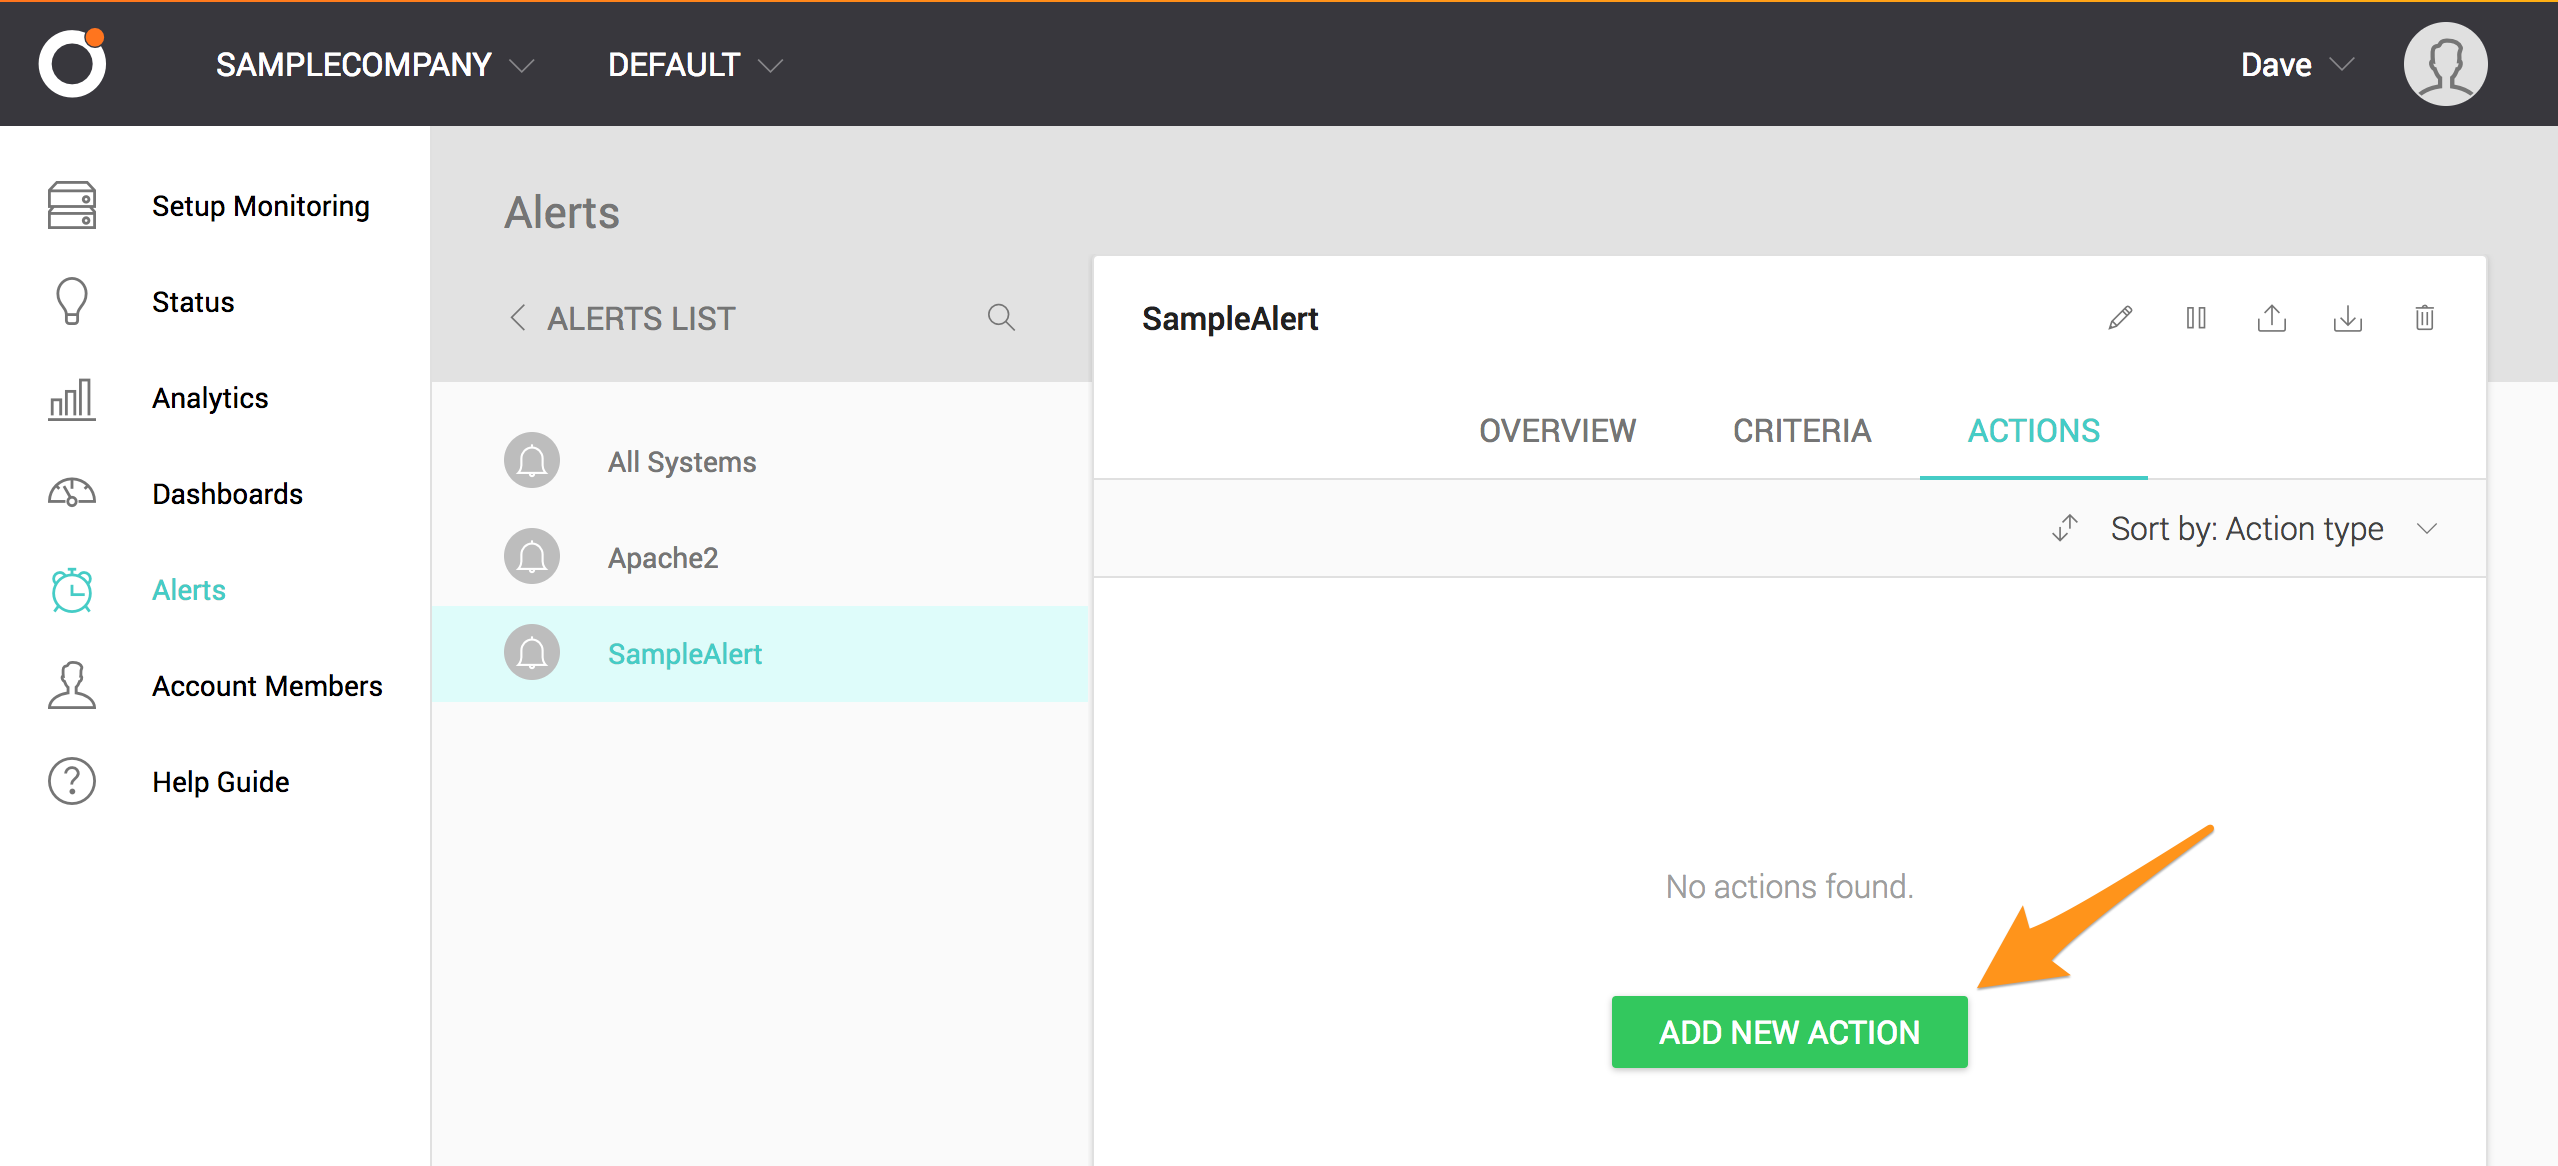
Click ADD NEW ACTION.
Select Call a Webhook from the dropdown menu.
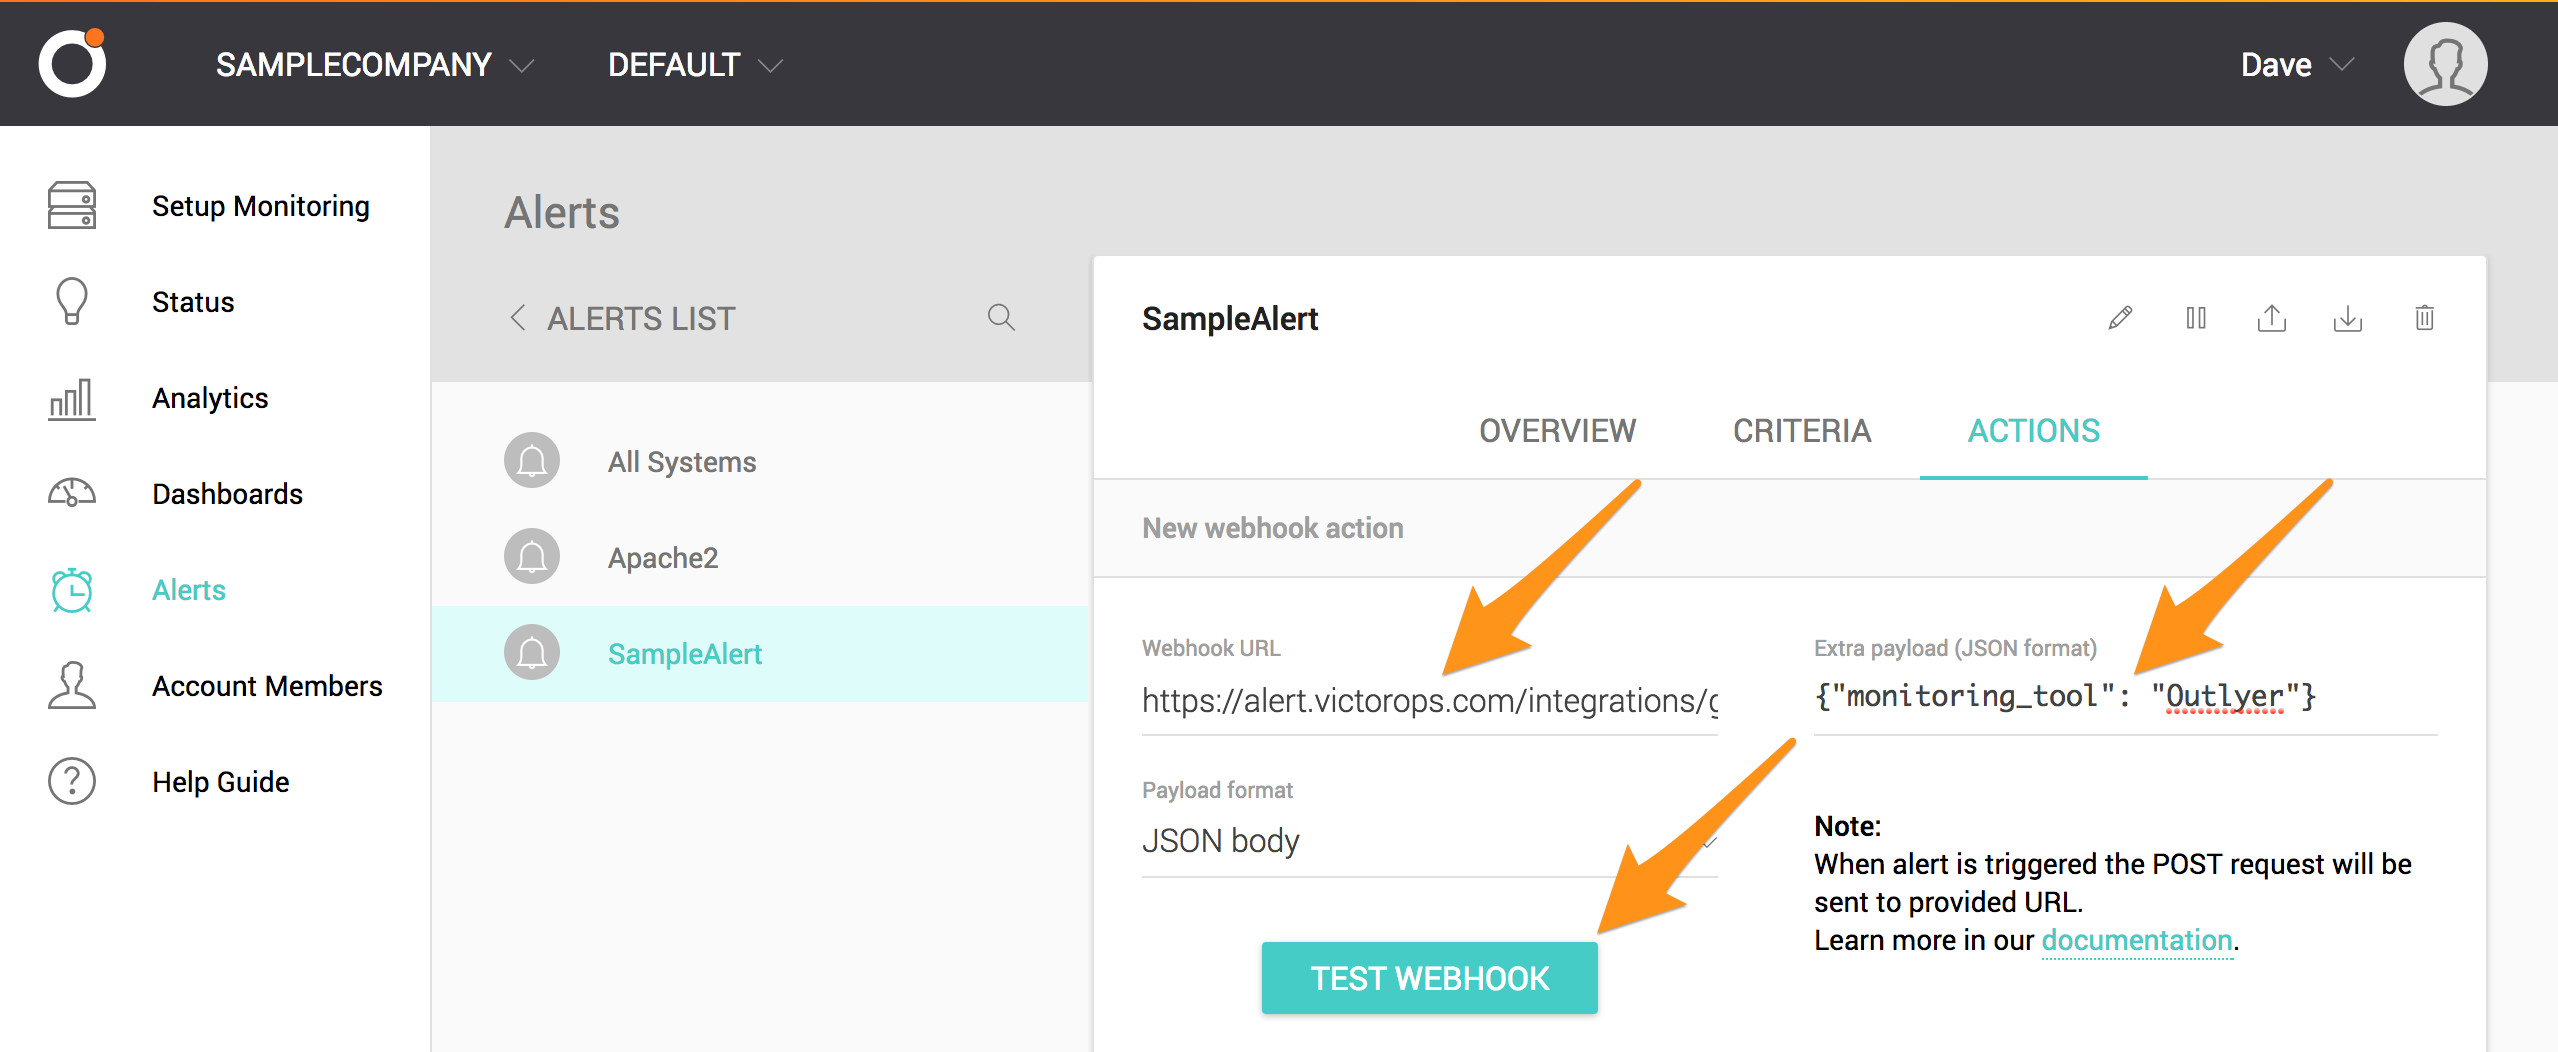
Paste the “URL to notify” that you copied from the VictorOps Integrations page for Outlyer in the “Webhook URL” field, then enter "monitoring_tool": "Outlyer" inside the curly braces of the “Extra payload” field, then select TEST WEBHOOK.
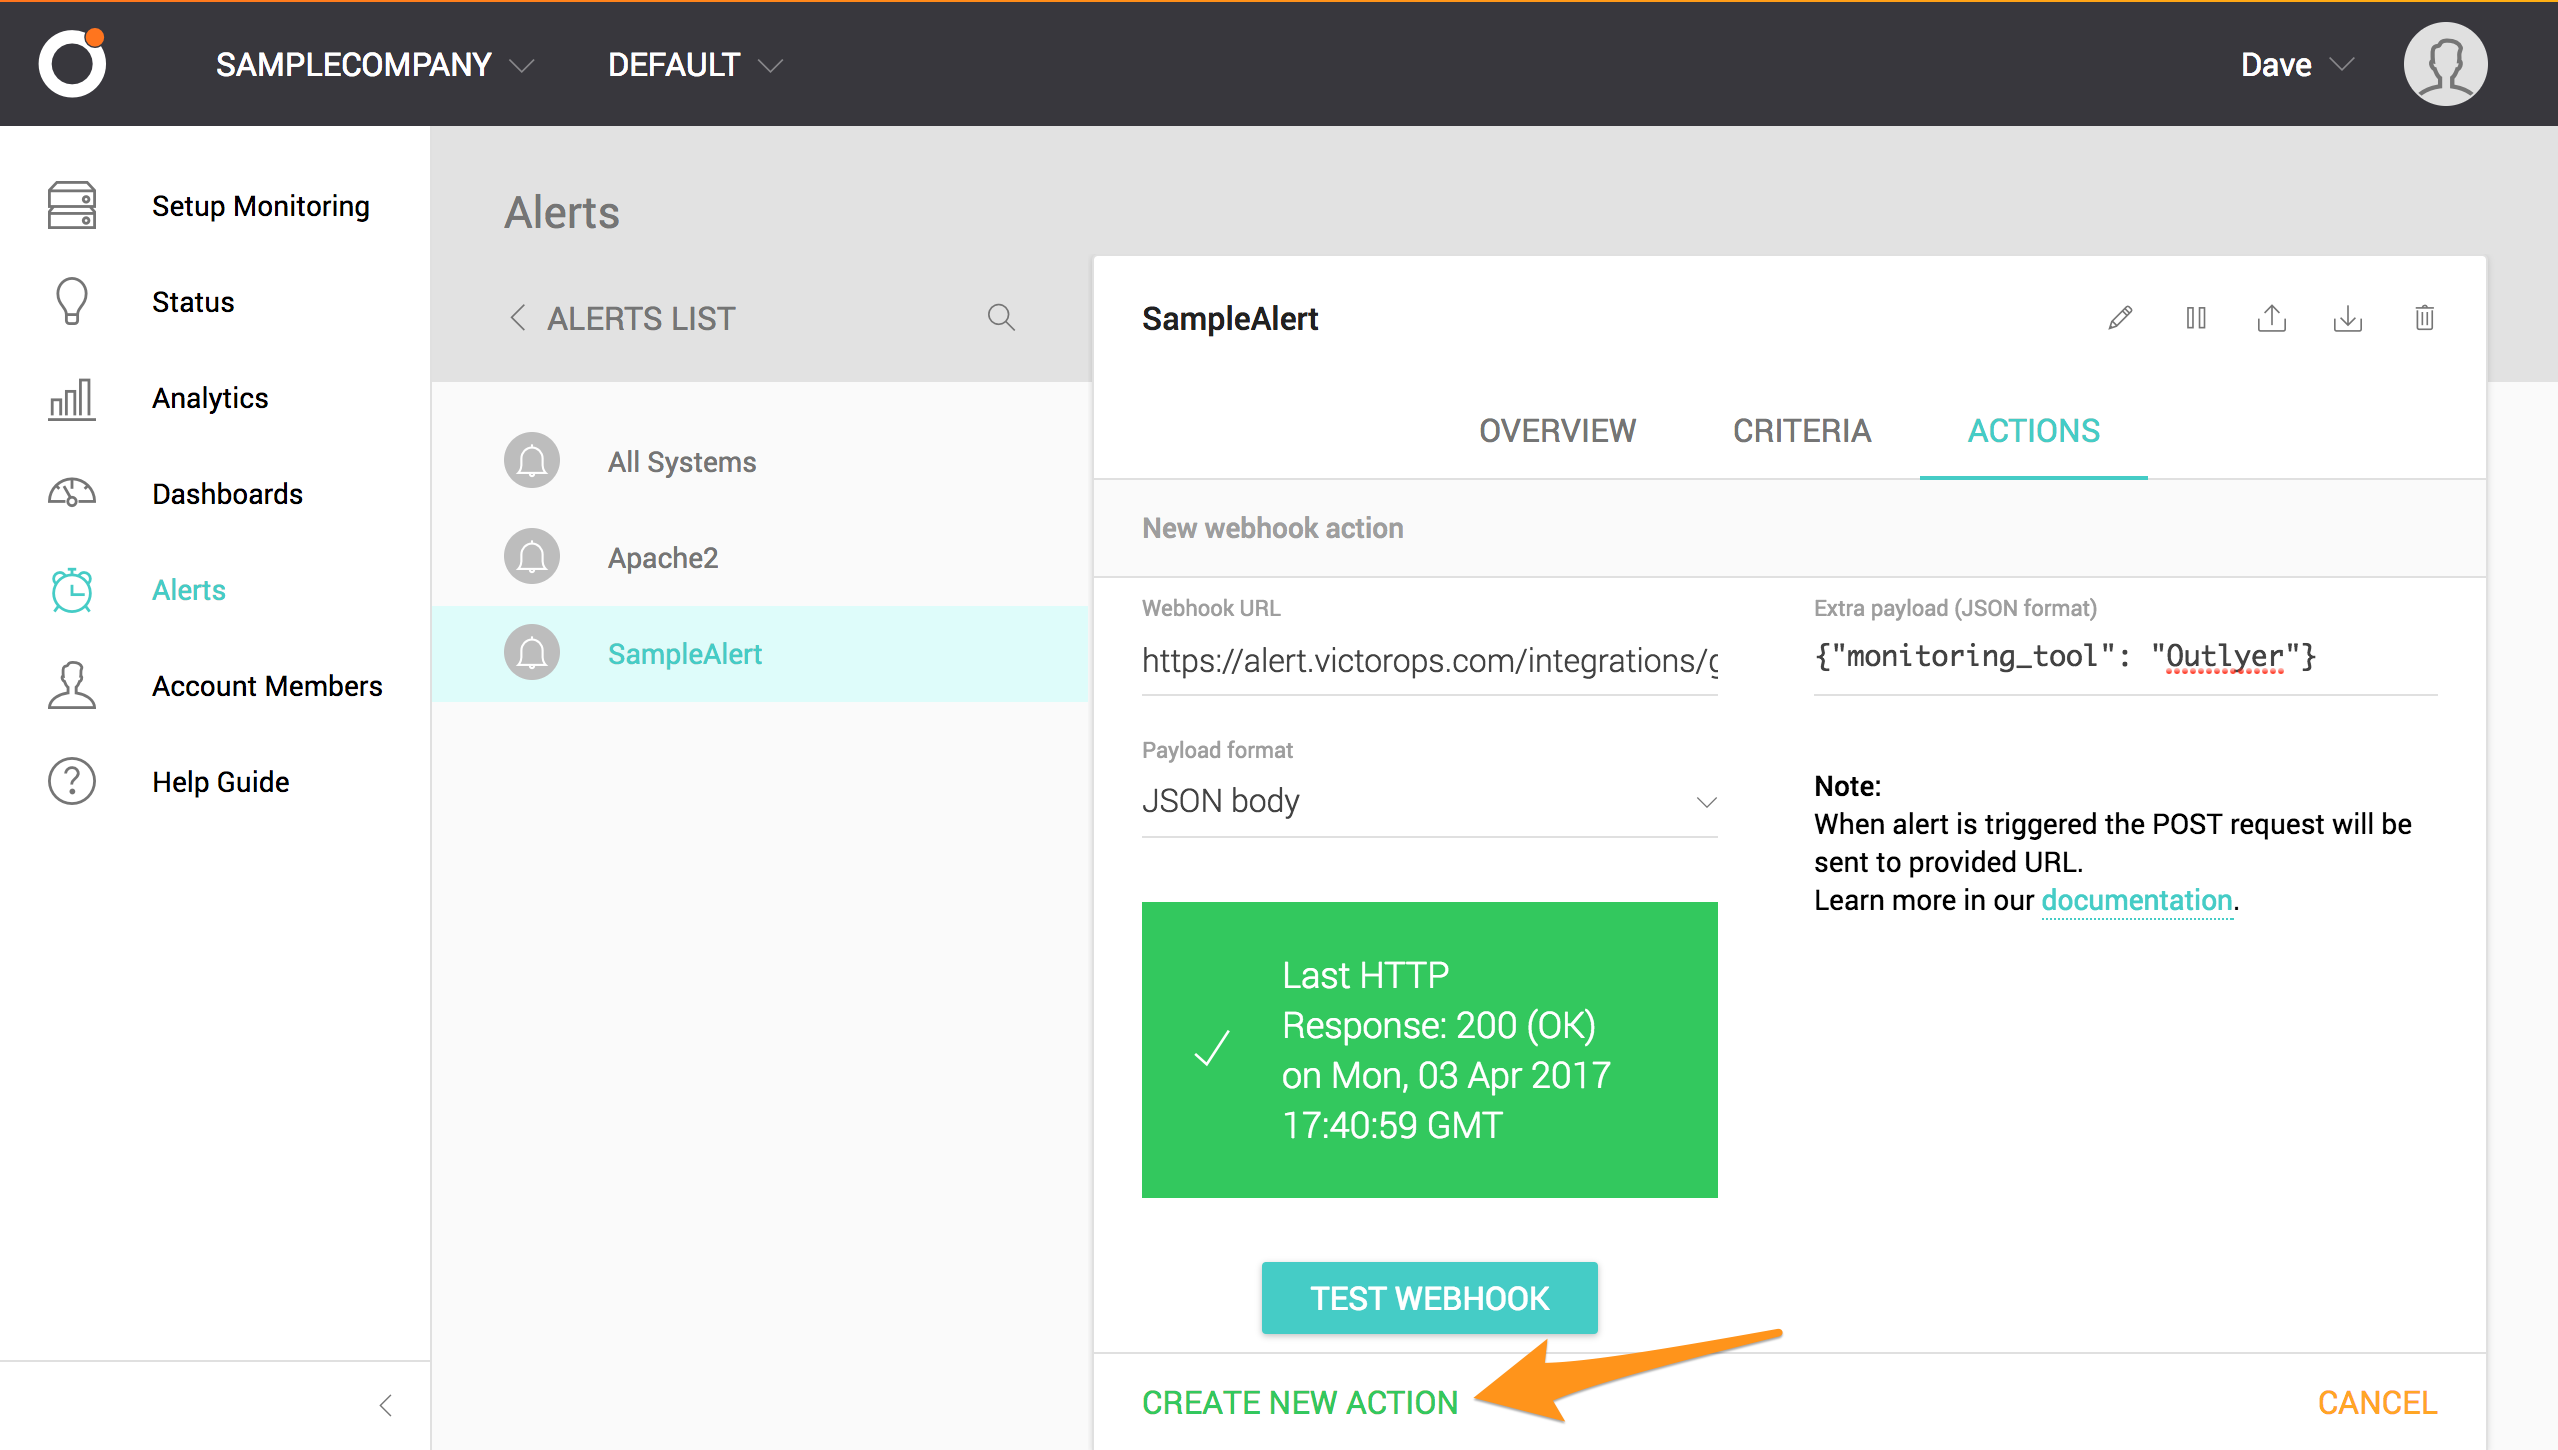
You should see a green “Response: 200 (OK)” message. Click CREATE NEW ACTION.
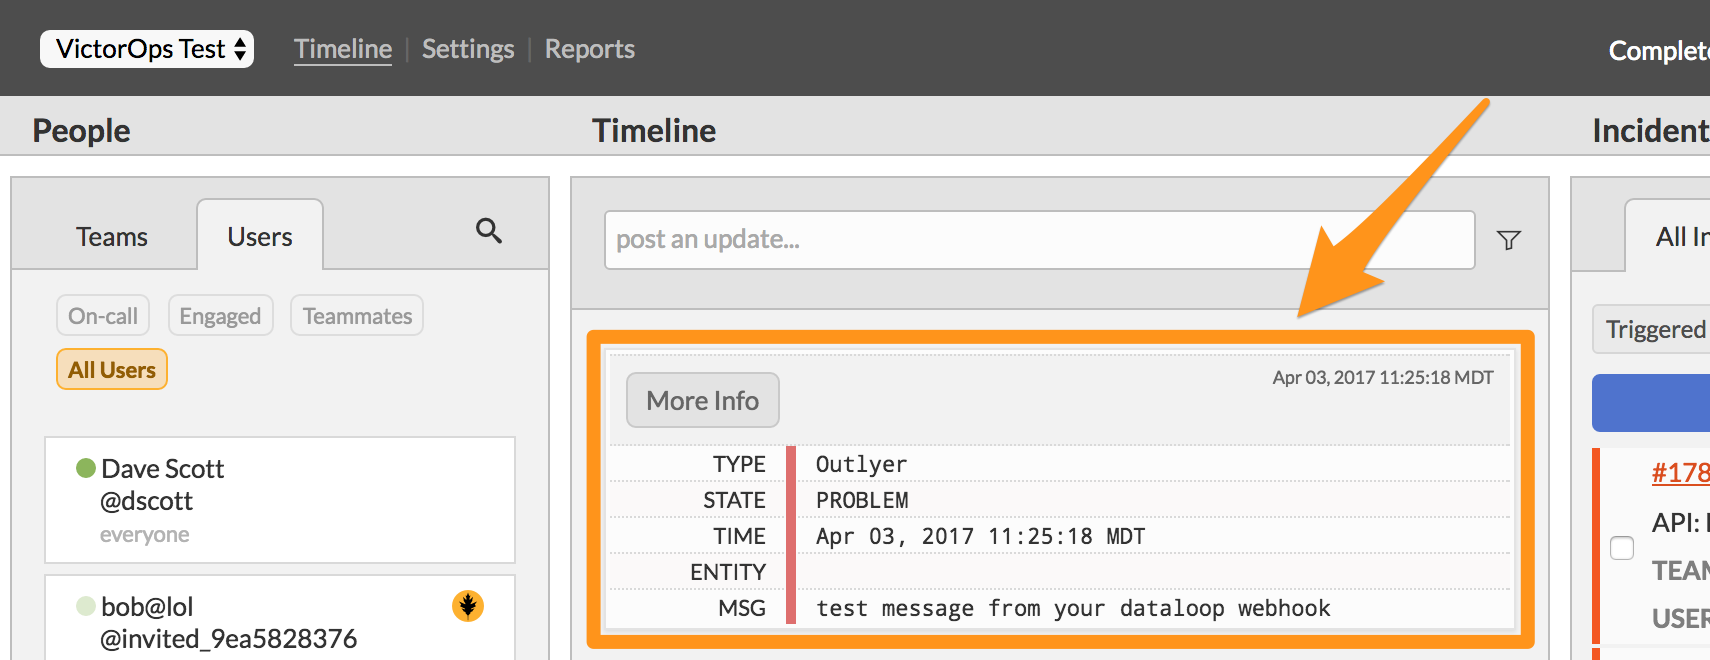
Check for the notification in VictorOps.
You have completed setting up this integration. If you have any questions, please contact VictorOps support.