NOTE: New to Splunk On-Call? A great place to get acquainted with the platform is through our User Training documentation, found here. Once you familiarize yourself with your User permissions, come back to this article to learn about your increased responsibilities as a Team Admin.
Your Role as a Team Admin
A user can be elevated to a Team Admin for one or more teams. Likewise, there may be multiple Team Admins within a single team. As a Team Admin, you’re responsible for a team’s on-call schedules, escalation policies, and the overall management of the users who are apart of your team.
Your Permissions as a Team Admin
Permissions for the Team-Admin are limited to the team or teams that you’ve been assigned to. As Team Admin, you may take any of the following actions:
| Permissions specific to a Team Admin |
| Invite Users to Your Team |
| Edit Team Members Paging Policies |
| Create/Edit/Delete Schedules |
| Create/Assign Scheduled Overrides for Team Members |
View all User Roles and Permissions!
Your Resources as a Team Admin
Knowledge Base: Splunk On-Call has an extensive Knowledge Base that is always a good place to start if you are unsure how something works or are in need of some tips! A whole section on scheduling can be found here!
Contact Us: All users have the ability to reach out to Splunk On-Call support at any time with any questions!
1. Live Chat: If you are logged into your Splunk On-Call instance, you will have the ability to Live Chat with the Splunk On-Call Support team.
2. Splunk Support Portal: You can open a Splunk On-Call support case in the Splunk Support Portal:https://login.splunk.com/
If you are facing any issues when trying to contact us please have a look HERE!
Recommendations to be a Successful Team Admin:
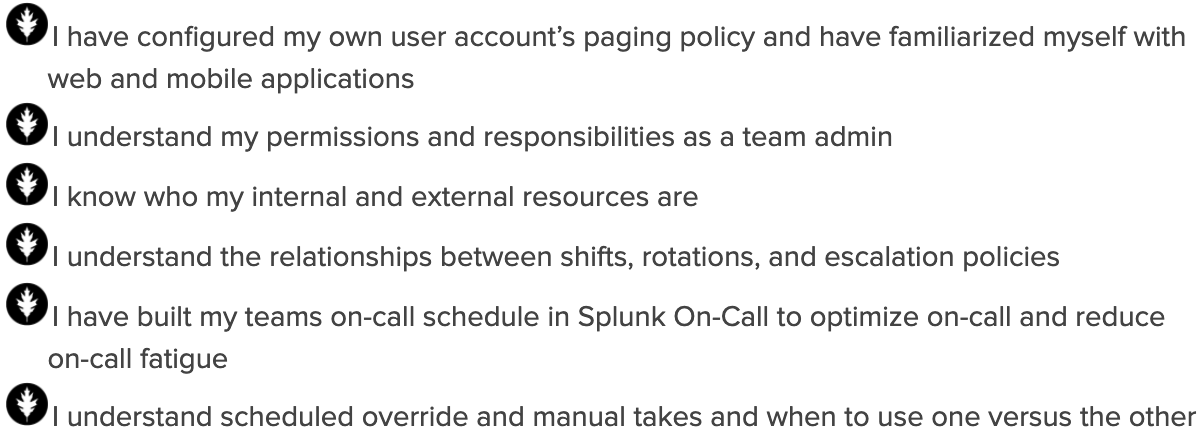
- Setup your profile and familiarize yourself with the Splunk On-Call web and mobile platforms: As a Team Admin, it’s your responsibility to ensure that you and the members of your team are familiar with the Splunk On-Call platform.
- Learn your Internal Resources in Splunk On-Call: On the Users tab, you can see specific user roles and find out who your Global Admins or Alert Admins are within your organization. NOTE: You will need to be familiar with your admins for configuration assistance outside of your permissions.
- Set up your Personal Paging Policies: Your paging policy determines how Splunk On-Call notifies you of an incident. Quick video on Personal Paging Polices!
♦ Best Practice Tip ♦ Your Primary Paging Policy should be the loudest and most attention-grabbing notification method. We recommend a diverse paging policy (Push, SMS, Phone) with multiple steps to avoid single points of notification failure. Use a custom paging policy for a configured period time, a time that may not require such aggressive paging (i.e. during business hours).
- Learn and understand the difference between a Rotation, Shifts, and Escalation Policies: It is crucial as a Team Admin to understanding how rotations, shifts, and escalation policies interact and depend on one another.
♦ Best Practice Tip ♦ Taking the time to understand the relationship between these functions will help you determine the most effective way to configure your team’s on-call schedule.
- Map out your team’s schedule before configuring it in Splunk On-Call: Using a spreadsheet or a whiteboard to map out your team’s on-call schedule will help you visualize the schedule and determine what kind of rotations and shifts to use.
♦ Best Practice Tip ♦ Keep your rotations as simple as possible, preferably with a continuous rotation of the same users to make your on-call schedule easy to manage. Remember that you can leverage scheduled overrides to address holidays or schedule conflicts.
- Invite your Users to your Team: Add all necessary users to your team. NOTE: If a team member is not yet in Splunk On-Call you will need a Global Admin to invite them if the Team Admin role has been restricted from inviting users to Splunk On-Call. Quick video on Adding Users in Splunk On-Call & Removing Users in Splunk On-Call!
- Create your team’s schedule in Splunk On-Call: Following the schedule you mapped out, build your on-call schedule in Splunk On-Call. Quick video on shifts & rotations!
- Setup your team’s Escalation Policies: There are quite a few actions Escalation Policies are able to initiate, take some time to understand what each action does. Quick video on Escalation Policies!
♦ Best Practice Tip ♦ When creating escalation policies keep a naming convention that allows others to know which escalation policies belong to your team. Most mapping/callout actions within Splunk On-Call are tied to Escalation Policies.
♦ Best Practice Tip ♦ Use the escalation “Page Entire Team” sparingly or as the very last step in an Escalation Policy to avoid notification fatigue.
- Connect with a Global or Alert Admin to create your team’s routing key(s): Once you are ready for alerts to be routed to your team, you will need a Global or Alert Admin to create routing key(s) for your team’s Escalation Policies. Tip: you can find user roles under the Users tab
♦ Best Practice Tip ♦ Request that your routing key name(s) follow your Escalation Policy naming convention.
- Understand Scheduled Overrides & Manual Takes: As a Team Admin, you have permissions to manage scheduled overrides for users on your team. Quick video on Scheduled Overrides & Manual Takes!
♦ Best Practice Tip ♦ Scheduled overrides should be used for planned absences, whereas Manual takes should only be used for last-minute coverage needs.
Team Admin Checklist
